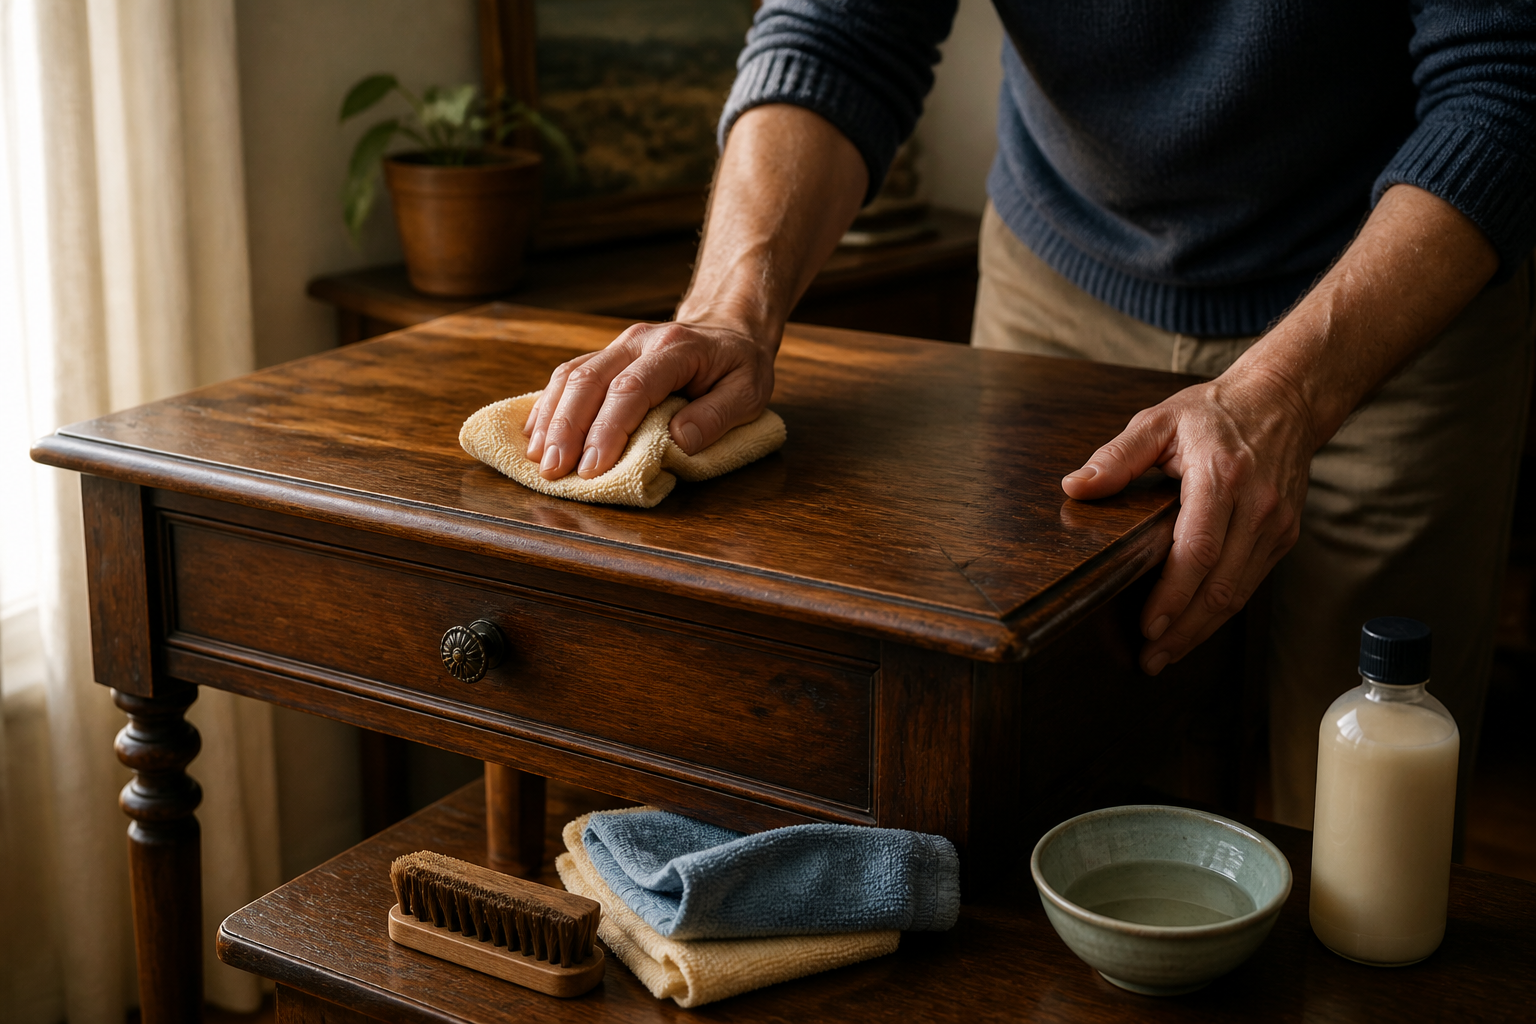
Old wooden furniture often looks worse than it really is. Dust, greasy fingerprints, old polish, and uneven sun exposure can make a sound piece look dry and tired. Before reaching for sandpaper or wood oil, check whether the original finish is still intact. If it is, careful cleaning and one small, tested treatment may improve the piece without removing its character—or creating a much larger project.
You need only a few basics: soft cloths, a soft brush, mild soap, clean water, and, if needed, one product intended for the known finish. Work from the mildest option to the stronger one, and judge the result from normal viewing distance rather than chasing every flaw under bright light.
Decide Whether the Finish Can Be Refreshed
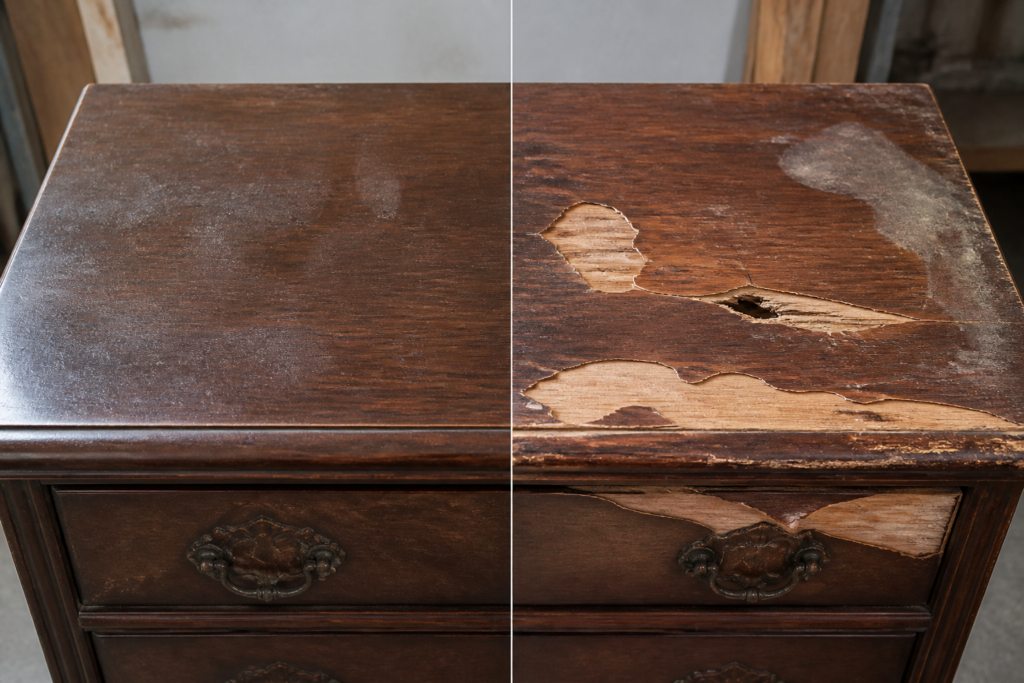
A refresh makes sense when the furniture is structurally sound and the finish is still largely present. Dullness, grime, light scratches, faded areas, and uneven sheen are usually surface problems. Peeling or flaking finish, large areas of bare wood, deep gouges, severe water damage, lifting veneer, loose joints, or a sticky surface that seems to soften are not.
Veneer is a thin layer of wood, not a particular type of finish. It may be coated with lacquer, varnish, wax, paint, or another finish, so its care depends on that coating. Do not sand it casually.
Valuable antiques, historically important furniture, and pieces with an unknown or unusually delicate finish deserve a conservative approach. If you cannot identify the finish, begin with dry dusting only. A smooth surface is not proof that an old finish is stable.
Clean Gently, If the Surface Can Tolerate Moisture
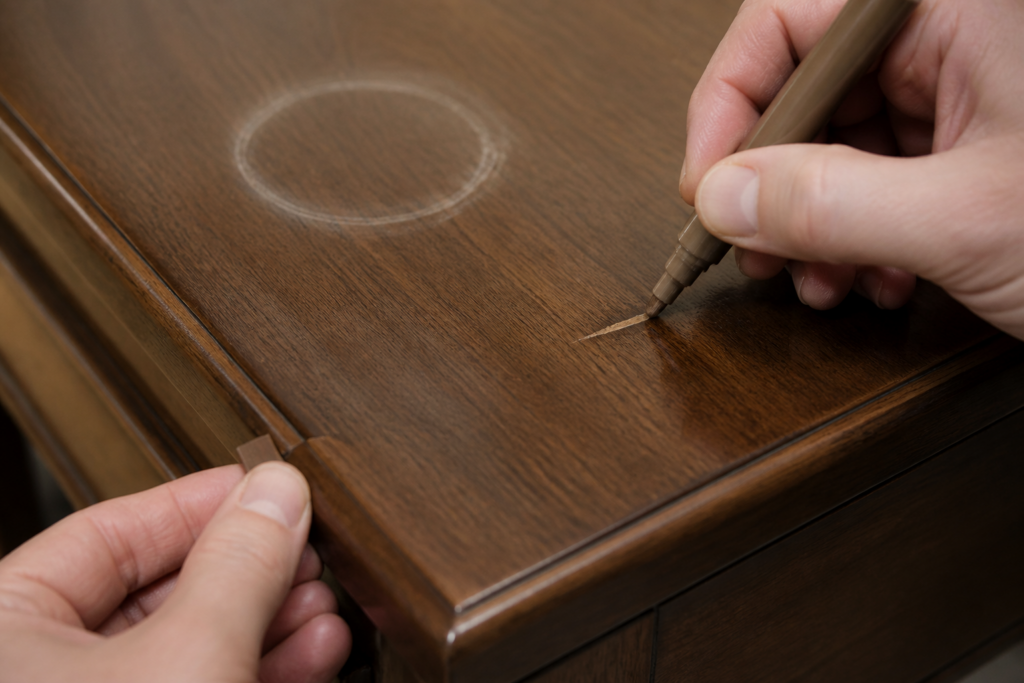
Cleaning reveals whether the problem is dirt and residue or actual finish damage. First remove loose dust with a soft, dry microfiber cloth or a vacuum brush attachment. Use a soft brush for carved details and crevices.
For a sound, sealed, moisture-resistant finish, you can try a weak solution of mild dish soap and warm water. This is not a default method for every old piece: avoid it on waxed, soft, fragile, painted, shellac, lacquered, or unknown finishes unless reliable finish-specific guidance says it is suitable. When in doubt, stay with dry cleaning.
Test the method on a small, visually representative hidden area—not just an underside that may have a different coating or level of wear. Use a cloth that is barely damp, work in a small section, and dry it immediately with a separate cloth. Avoid moisture near veneer edges, joints, cracks, drawer openings, and unfinished undersides.
Stop if the test area becomes cloudy, sticky, lighter, darker, or discolored. Avoid abrasive sponges, steel wool, ammonia, bleach, alcohol, steam, furniture stripper, and strong household cleaners. Do not combine products.
Let the Clean Surface Choose the Next Step
Let the furniture dry completely, then reassess it. If cleaning restored enough color and sheen, stop. There is no benefit in adding a product simply because the surface is wood.
- Clean but still slightly dull: Use one polish or wax intended for finished furniture, and only when the label supports the known finish. Test it first in the representative hidden area. Do not use both, and do not casually layer either over oil or old wax.
- Sound finish with a small clear-coat scratch: A suitable polish may make the mark less visible by evening out the sheen, though it will not fill a groove.
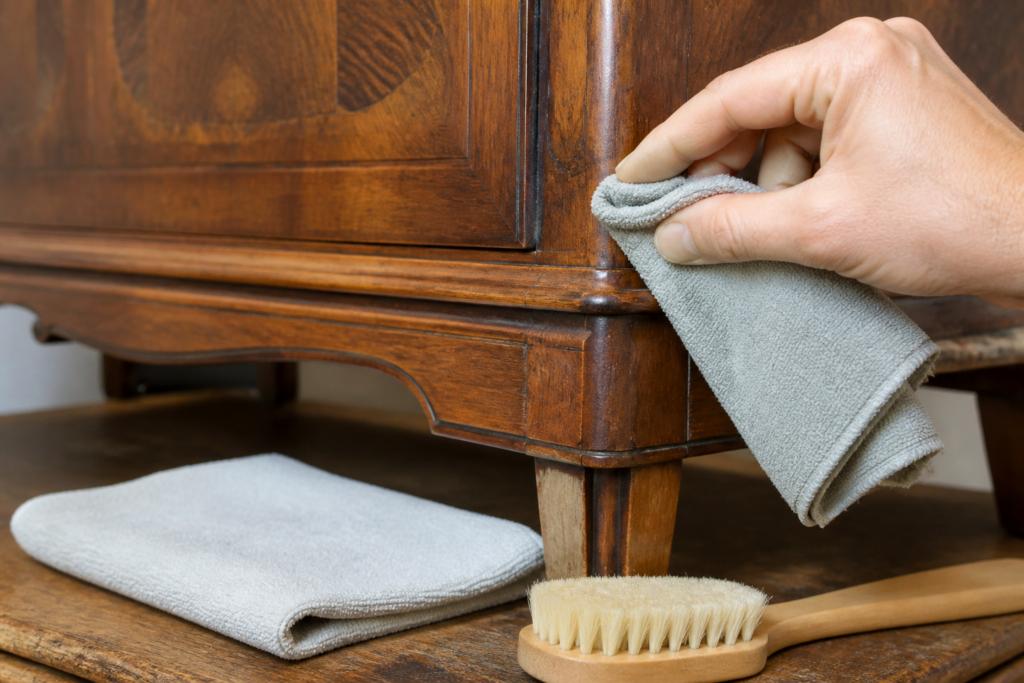
- Pale wood or localized color loss: Use a small amount of furniture touch-up color on the clean, dry spot. Apply tiny strokes or thin layers, wiping the edges immediately. Stop before the repair becomes darker or more noticeable.
- Peeling, dissolving, deeply gouged, or widely discolored finish: Stop refreshing and seek localized repair advice.
“Compatible” means more than “marketed for wood.” The product label should support the existing finish and surface condition. If the finish is unknown, unstable, or already sticky, avoid wax, oil, polish, and restoration products until you have reliable advice.
Paste wax can add a soft sheen and limited sacrificial surface protection, but it is not a repair or a substitute for a sound protective finish. Apply only a very thin coat when appropriate and buff lightly. Excess wax leaves a cloudy film and collects dust in carved areas.
Be especially cautious with products called restorers, rejuvenators, or wood oils. Some contain solvents or colorants that can darken the surface, soften an old finish, or leave an uneven film. Do not use oil merely because the wood looks dry.
Handle Marks Without Making Them Worse
For a scratch that only catches the light and does not expose pale wood, try the finish treatment described above. If pale wood is showing, use a touch-up marker, wax fill stick, or crayon made for wood repair. Test the color first; it may dry darker or warmer than it appears in the package. Add color sparingly rather than trying to match the area in one heavy application.
White or cloudy water rings and heat marks are often damage within the finish, not ordinary dirt. Do not use repeated rubbing, heat, toothpaste, mayonnaise, abrasive compounds, or other household remedies. If gentle cleaning does not improve the mark, stop experimenting and get advice about localized finish repair.
Do not sand an isolated blemish unless you understand the risk. On veneer, sanding can cut through the thin wood layer; on a finished surface, it can create a dull patch larger than the original scratch.
Protect the Result—and Know When to Stop
Allow polish, wax, or touch-up products to dry or cure for the time stated on the label. Do not return objects until the surface no longer feels cool, greasy, tacky, or grabby. For routine care, dust with a soft, dry cloth and wipe spills promptly with a barely damp cloth, followed by drying.
Use coasters and trivets, keep damp containers from sitting directly on the furniture, and limit prolonged direct sun and nearby heat. Avoid polishing on a fixed schedule; repeated applications can create dull or greasy buildup.
If cleaning and one carefully tested treatment make the furniture look better from normal viewing distance, stop there. If the finish is peeling, missing across large areas, badly water-damaged, or would require sanding or stripping, consult an experienced furniture restorer or conservator—especially for valuable or historically important pieces.