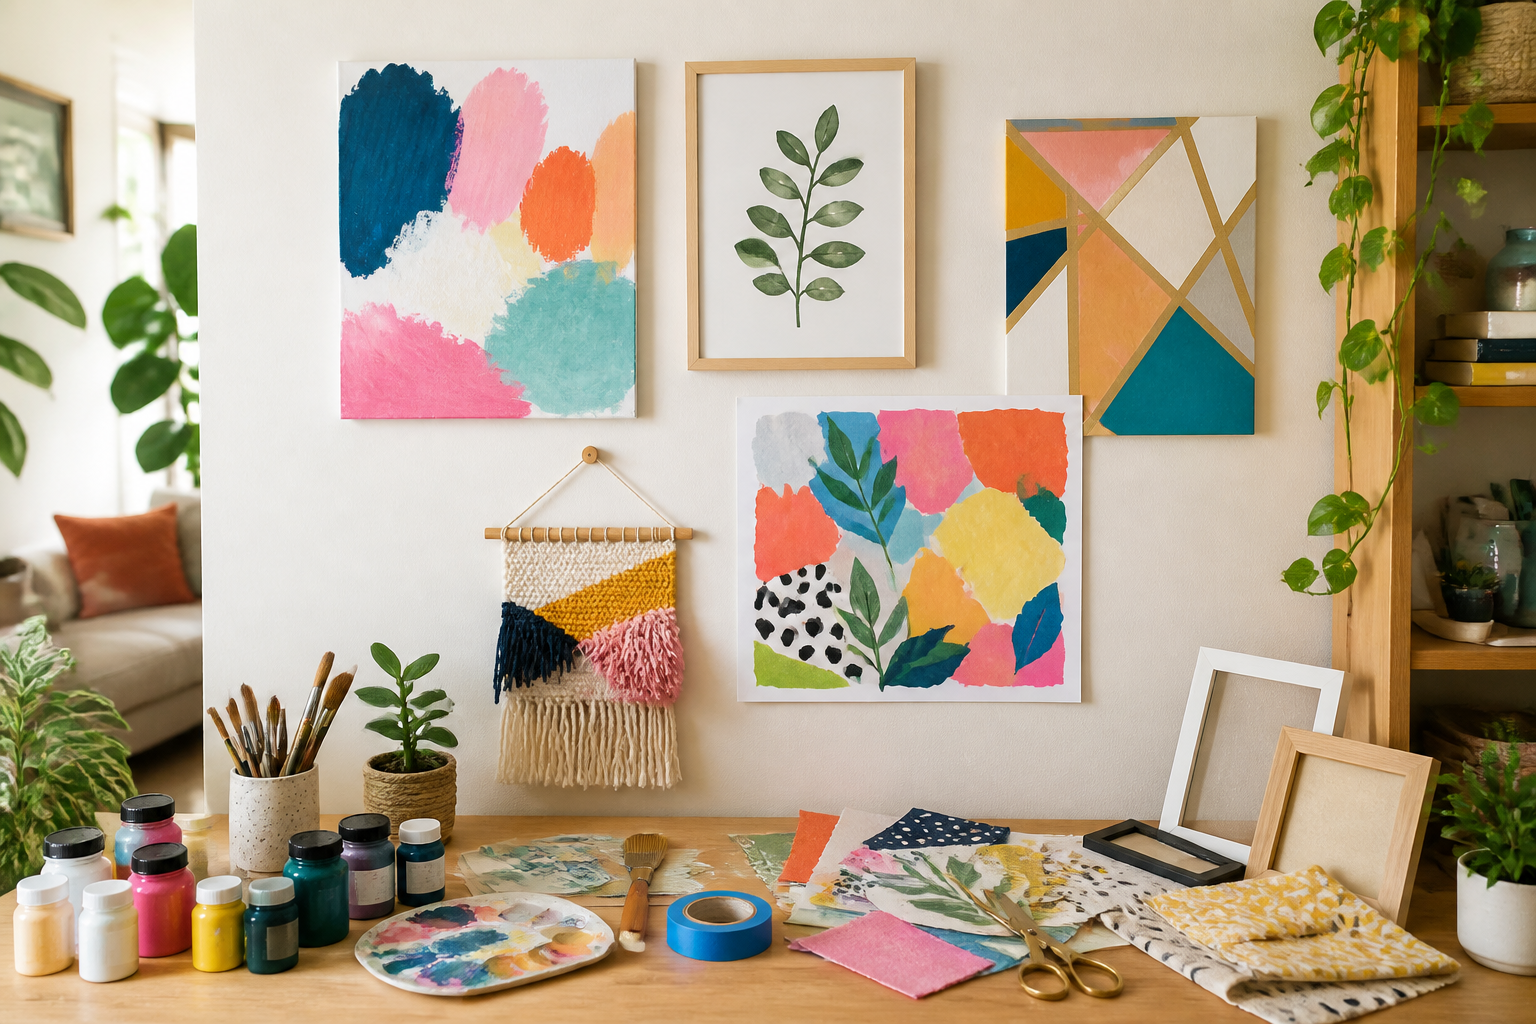
Refreshing a room does not have to involve expensive artwork or a complicated weekend project. With a few basic supplies and a simple plan, you can create attractive wall decor in less than an hour. These easy DIY wall art ideas are designed for beginners, renters, busy households, and anyone who wants a more personal space without spending much.
Many of the projects use materials you may already have, such as leftover paint, old fabric, magazines, packaging, postcards, or unused frames. Choose one idea that fits your room, prepare your work area, and focus on a simple design. The finished piece does not need to be perfect to look intentional and stylish.
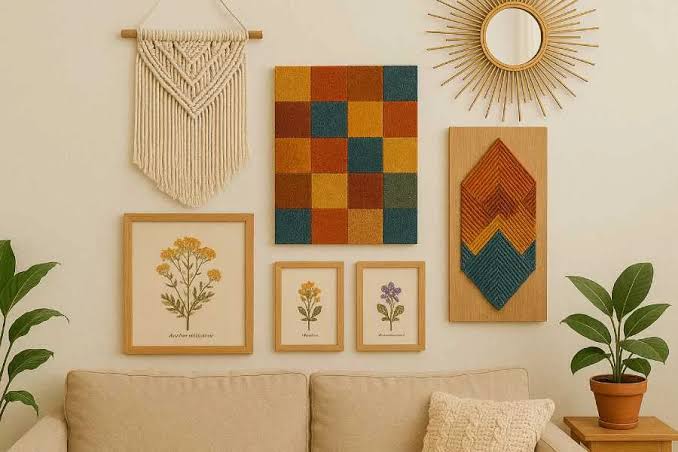
What You’ll Need for These One-Hour DIY Wall Art Projects
The exact supplies depend on the project, but a small collection of versatile materials will cover most quick DIY wall art. Consider gathering:
- Blank canvas panels, cardstock, watercolor paper, or lightweight wood
- Acrylic paint, paintbrushes, foam brushes, and a cup for water
- Scissors, a ruler, pencil, and measuring tape
- Painter’s tape, glue, double-sided tape, or a glue stick
- Frames, clips, dowels, string, or a thin branch
- Colored paper, magazines, postcards, maps, or recycled packaging
- Fabric scraps, scarves, tea towels, or old clothing with attractive patterns
- Stencils, letter stickers, or a printer for simple lettering projects
Affordable substitutes work well. A cereal box can become sturdy collage paper, a clean food package can provide interesting typography, and a spare picture frame can give a homemade design a polished finish. Look around your home before buying supplies.
Protect your table with newspaper, kraft paper, or a reusable drop cloth. Keep scissors and craft knives away from children, and use good ventilation when working with strong adhesives or spray products. If you are using a found branch, check it for insects, moisture, and sharp splinters before bringing it indoors.
Easy DIY Wall Art Ideas to Make in Under an Hour
Abstract Painted Canvas
Estimated time: 30–45 minutes, plus drying time
Difficulty: Easy
Materials: Canvas, acrylic paint, brushes, water, paper towel
Approximate cost: $5–$20, depending on what you already own
An abstract canvas is one of the most forgiving wall art projects for beginners because it does not require drawing realistic objects. Use blocks of color, loose brushstrokes, dots, arches, or overlapping shapes to create a design that suits your room.
Start by choosing two to four colors. For a calm look, combine warm white with tan, muted green, soft blue, or terracotta. For a more energetic design, pair a neutral base with one or two brighter shades. Paint the largest shapes first, then add smaller marks after the first layer has dried slightly. Leave some of the canvas visible for a lighter, modern appearance.
To make the piece look coordinated, repeat at least one color already found in the room. You can also paint a narrow border around the canvas or place it in a simple frame once it is dry.
Framed Botanical or Nature Prints
Estimated time: 15–30 minutes
Difficulty: Very easy
Materials: Frame, printed image, pressed leaf, photograph, or cardstock
Approximate cost: $0–$15
Nature-inspired art can be made quickly with a free printable, a personal photograph, or a carefully pressed leaf. Look for simple images of leaves, flowers, landscapes, birds, or seashells. Black-and-white prints are especially useful because they work with many decorating styles.
For a pressed botanical display, place a dry leaf or small flower on a sheet of heavyweight paper and secure it with a few tiny pieces of double-sided tape. Use a frame with glass to protect the material. If you do not have pressed plants, photograph an interesting leaf against a plain background and print the image at home or through a local photo service.
Several mismatched frames can create a relaxed gallery wall. To keep the arrangement from looking random, repeat one feature, such as black frames, natural wood, a shared color, or similar image sizes.
Geometric Tape Art
Estimated time: 30–45 minutes, plus drying time
Difficulty: Easy
Materials: Canvas or thick paper, painter’s tape, paint, ruler, brush
Approximate cost: $5–$15
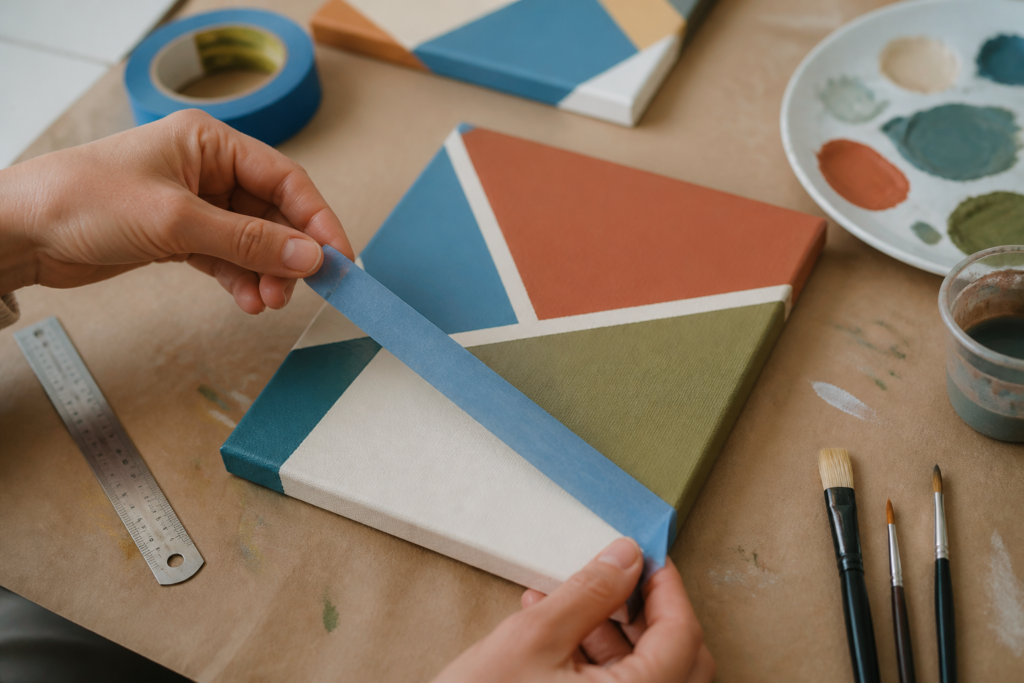
Painter’s tape makes it easy to create clean lines without advanced artistic skills. Place strips across a canvas to form triangles, rectangles, diagonal bands, or a simple grid. Press the tape edges firmly with a clean finger or the back of a spoon so paint cannot easily seep underneath.
Paint over the exposed sections using two or three colors. You can fill every section or leave some areas white. Allow the paint to become touch-dry, then peel the tape away slowly while pulling it back over itself at a low angle. Removing the tape before the paint has fully hardened can help prevent large flakes from lifting, but avoid touching wet areas.
If the first layer bleeds slightly, do not discard the project. Small imperfections can look handmade and add character. For sharper results, apply a thin coat of the background color along the tape edges before adding the accent color.
Fabric or Textile Wall Hanging
Estimated time: 20–40 minutes
Difficulty: Easy
Materials: Fabric, scarf, tea towel, dowel or branch, string, clips, or adhesive
Approximate cost: $0–$20
A fabric wall hanging adds softness and texture that painted art may not provide. Repurpose a patterned scarf, tea towel, fabric remnant, or lightweight piece of clothing with a design you like.
The simplest no-sew method is to fold the top edge over a dowel or branch and secure it with clips, fabric-safe adhesive, or a line of strong double-sided tape. Tie string to both ends of the dowel for hanging. You can also drape the textile over a narrow rod and let the lower edge hang naturally.
Choose fabric that is lightweight enough for your wall hardware. A small pattern works well in a compact space, while a larger graphic design can serve as a focal point above a sofa or bed. Smooth the fabric before displaying it, or embrace a gently relaxed texture for a casual look.
Paper Shape or Collage Art
Estimated time: 30–50 minutes
Difficulty: Easy
Materials: Paper, magazines, scissors, glue, cardstock, frame
Approximate cost: $0–$10
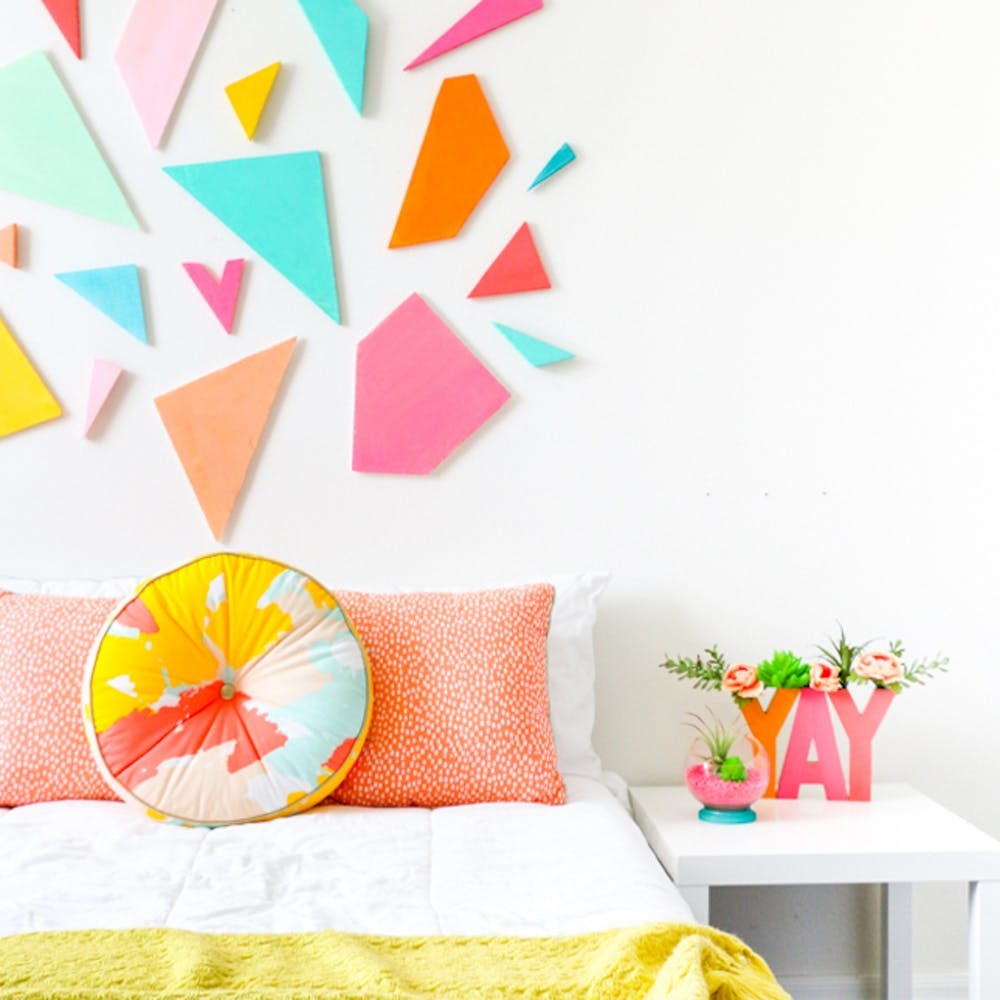
Paper collage is an affordable way to create colorful, highly customizable wall decor. Cut circles, arches, rectangles, waves, or leaf shapes from colored paper, magazine pages, maps, old calendars, or clean product packaging.
Before gluing anything, arrange the pieces on a table. Try a balanced layout with one large shape surrounded by smaller elements, or create a repeating pattern with evenly spaced pieces. Leave a little breathing room between shapes unless you want a dense, layered design.
Once you are happy with the arrangement, attach the pieces to thick cardstock with a glue stick or small amounts of liquid glue. Smooth each piece from the center outward to reduce wrinkles. A frame with a mat can make inexpensive paper art look more finished and protect it from dust.
Personalized Quote or Lettering Art
Estimated time: 25–45 minutes
Difficulty: Easy to moderate
Materials: Paper or canvas, pencil, ruler, markers or paint, stencil or printer
Approximate cost: $0–$15
Short lettering pieces are practical beginner DIY wall decor because the message supplies much of the visual interest. Choose a phrase that fits the room, such as “Take It Easy,” “Gather Here,” “Stay Curious,” or “Make Room for Joy.” A single word, such as “Breathe,” “Welcome,” or “Create,” can work well in a minimalist space.
For even lettering, type the phrase in a font you like, print it at the desired size, and trace the outline onto your paper using a sunny window or a simple transfer method. You can also use stencils, letter stickers, or a ruler to create clean block lettering.
Keep the design simple by using one ink color on a neutral background. For a more decorative result, add a painted border, small botanical marks, or a soft wash of color behind the words.
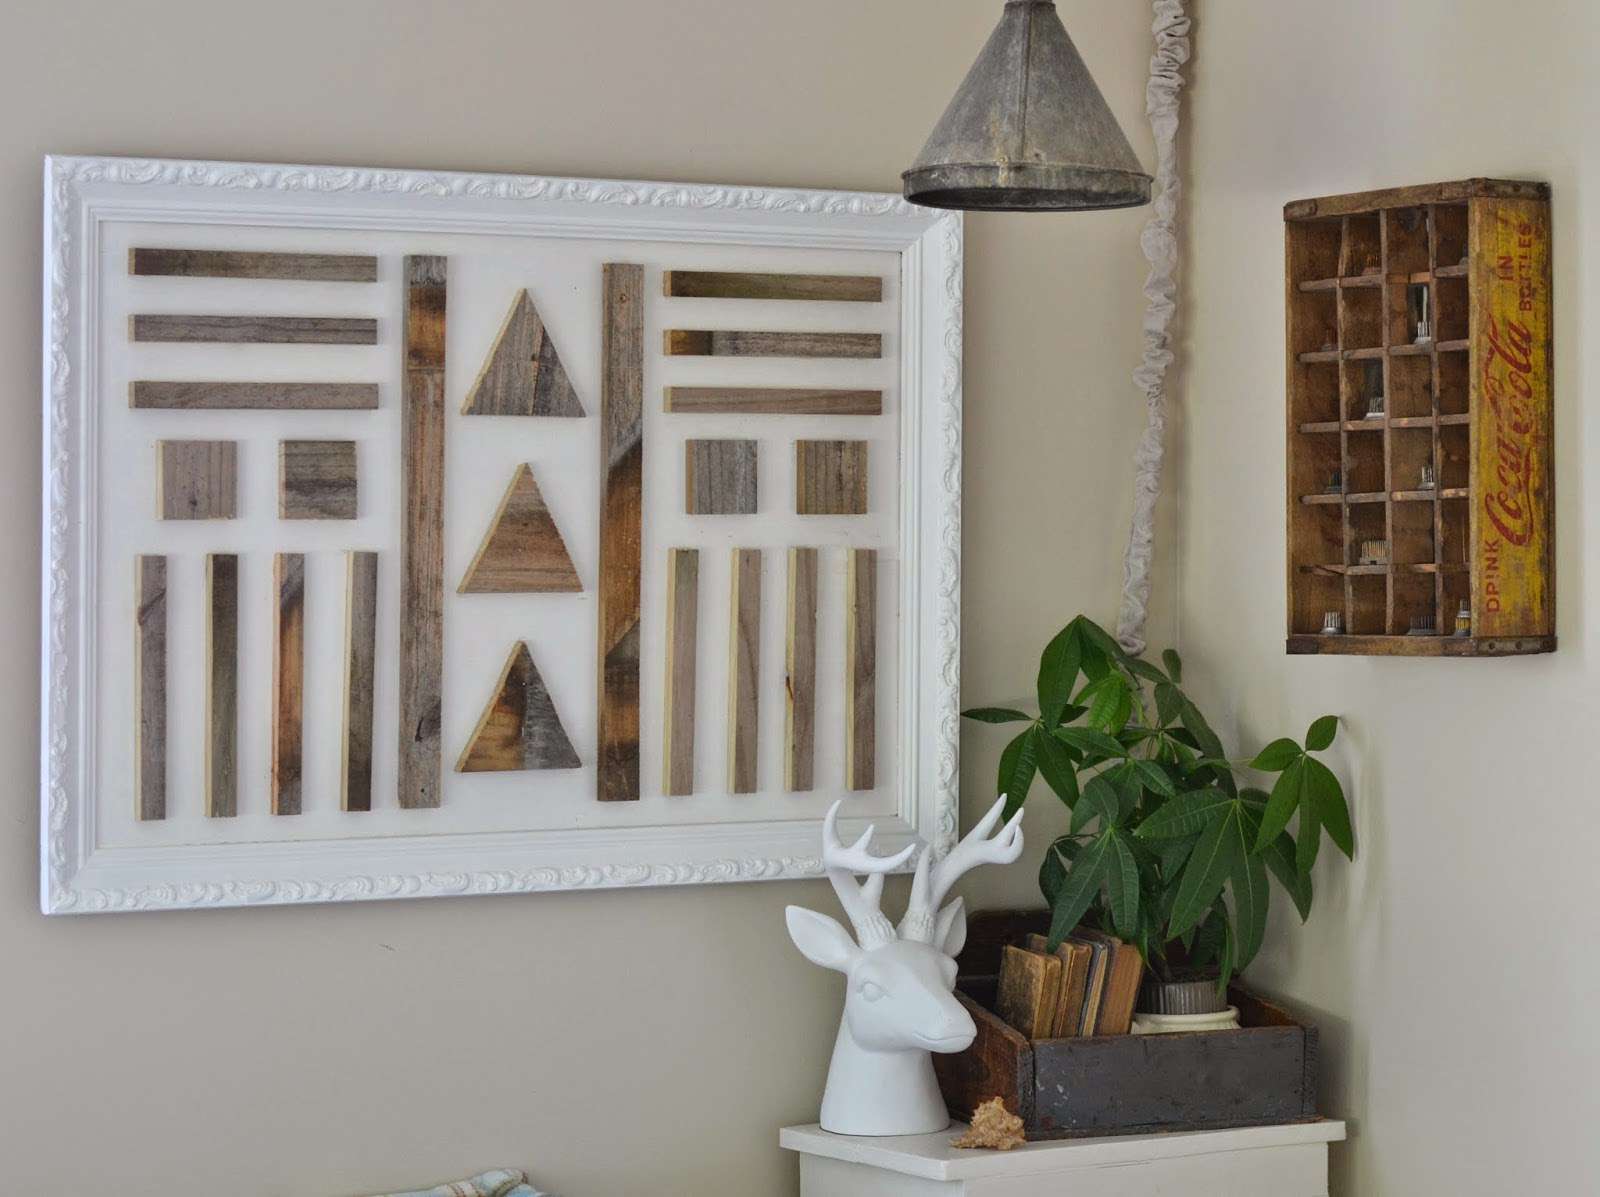
Repurposed Everyday Object Display
Estimated time: 20–45 minutes
Difficulty: Easy
Materials: Postcards, plates, baskets, maps, small wood pieces, clips, or frames
Approximate cost: $0–$20
Ordinary objects can become creative wall decor when grouped thoughtfully. Display a collection of postcards, a small decorative plate, a vintage map section, woven baskets, or attractive pieces of scrap wood.
Begin by choosing a visual connection. The objects might share a color palette, material, subject, or shape. Lay them on the floor before attaching anything. A triangular arrangement often feels relaxed, while a centered grid looks more formal. Keep the spacing reasonably consistent so the display appears deliberate.
Lightweight postcards and paper items can be held by clips or removable adhesive. Plates and heavier objects need hardware designed for their weight. When in doubt, use a shelf or picture ledge instead of relying on a small adhesive product.
How to Customize DIY Wall Art for Your Decor Style
The same project can look completely different depending on its colors, materials, and presentation. For minimalist rooms, use a limited palette, generous white space, and thin frames. Modern interiors often suit bold geometric shapes, high contrast, and clean typography.
For a bohemian look, combine textiles, natural branches, warm colors, and layered patterns. Farmhouse-style spaces can use botanical prints, simple signs, distressed wood, and neutral colors. Eclectic rooms provide more freedom: mix frames and materials, but repeat one or two colors to connect the pieces.
Scale also matters. A tiny print may look lost above a large piece of furniture, while a large canvas can overwhelm a narrow wall. When making several small pieces, group them together rather than spreading them far apart. Repetition in color, shape, or frame style helps affordable wall art ideas look like part of a planned collection.
Wall-Safe Ways to Display Your Finished Art
Renters and anyone who wants to avoid unnecessary holes have several display options. Removable adhesive strips work well for many lightweight frames and canvases when applied to a clean, dry surface. Follow the package instructions and check the stated weight limit rather than guessing.
Poster putty is useful for lightweight paper art, while removable hooks can support small textile hangings or clip displays. Leaning a framed piece against a wall on a shelf, dresser, or mantel avoids attachment altogether. Lightweight clips mounted to a rail or strip can also make it easy to change artwork regularly.
Measure the wall and test the arrangement with paper templates before installing anything. Mark the intended top edge and center point with a pencil, then step back to check the height. Avoid placing handmade paper art where it will receive strong, direct sunlight for long periods, as some inks and papers may fade.
Tips for Finishing Every Project in Under an Hour
- Gather everything first. Searching for scissors or paint halfway through can quickly consume your project time.
- Choose a simple design. One strong shape or color combination usually looks better than too many unfinished details.
- Use quick-drying materials. Acrylic paint, glue sticks, pre-cut paper, and ready-made frames help keep the process moving.
- Work on a manageable size. An 8-by-10-inch or 12-by-16-inch piece is easier to complete than a large canvas.
- Include drying and cleanup time. A project is not finished until it can be safely handled and displayed.
- Stop when the design works. Extra embellishments can make a simple piece look crowded.
Frequently Asked Questions
What easy DIY wall art projects can be completed in under an hour?
Painted canvases, paper collages, framed botanical prints, geometric tape art, textile hangings, and personalized lettering are all suitable one-hour projects. Your actual time will depend on drying, printing, and how much preparation is required.
What materials and tools are needed for quick DIY wall art?
Most projects require paper or canvas, paint or markers, scissors, glue, painter’s tape, a ruler, and a frame or hanging method. Household substitutes such as magazines, packaging, old fabric, postcards, and leftover paint can reduce the cost.
Which DIY wall art ideas are best for beginners?
Framed prints, paper collages, abstract painting, and textile hangings require minimal measuring and no advanced crafting skills. Geometric tape art is also beginner-friendly because painter’s tape helps create the structure.
How much does it cost to make one-hour DIY wall art?
A project can cost nothing if you repurpose materials already at home. With new supplies, many small pieces fall roughly within the $5–$20 range, depending mainly on the price of the canvas, frame, and specialty materials.
Can these DIY wall art ideas be customized for different decor styles?
Yes. Adjust the color palette, pattern, texture, frame, and arrangement to suit the room. Neutral colors and simple lines fit minimalist spaces, while textiles, natural materials, and layered patterns suit bohemian or eclectic interiors.
What wall-safe methods can renters use to display DIY art?
Removable adhesive strips, poster putty, lightweight hooks, clips, and leaning frames are useful options. Always check the product’s weight limit and surface instructions, and test placement before installing the finished piece.
How can recycled materials be used to make affordable wall art?
Use magazine pages, food packaging, postcards, old maps, leftover fabric, unused frames, and small wood scraps. Arrange related materials by color or theme so the recycled elements look intentional rather than disconnected.
Create Wall Decor on Your Own Schedule
Attractive wall decor does not require a large budget, specialized equipment, or hours of free time. Choose one of these easy DIY wall art ideas, gather a few simple materials, and keep the design focused. In less than an hour, you can create a piece that adds color, texture, or personality to your home—and gain a practical starting point for your next creative project.