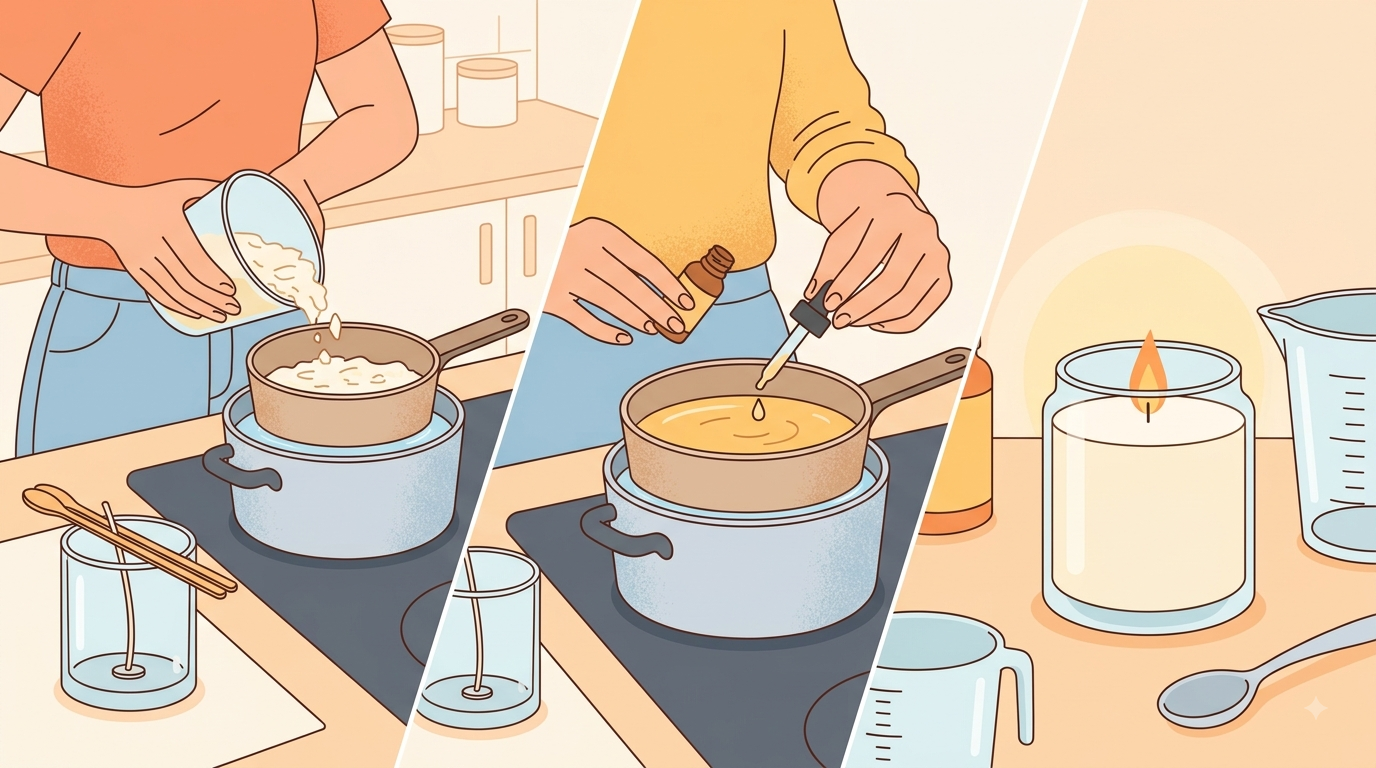
Making your own candles is one of the most satisfying and practical DIY projects you can try. The process feels almost magical — you start with simple ingredients and end up with something beautiful, useful, and completely customized. The best part? You don’t need expensive equipment, professional molds, or a craft room full of supplies. With a few basic household items and materials you can find at most grocery or craft stores, you can create clean-burning candles that look and smell better than many store-bought versions.
Homemade candles also give you full control. You choose the scent, the strength, the container, and the size. You can make them unscented for a clean, minimalist look or load them with your favorite essential oils. They’re excellent for gifts, home fragrance, or simply the quiet satisfaction of using something you made yourself.
This guide walks you through a straightforward method for making container candles using soy wax. The process is beginner-friendly, requires no special tools, and produces reliable results when you follow the steps carefully.
Table of Contents
- Why Make Your Own Candles
- Safety First: Important Precautions
- Materials You’ll Need
- Step-by-Step: How to Make Easy DIY Candles
- How to Add Scent
- How to Add Color (Optional)
- Common Mistakes and How to Avoid Them
- Creative Variations to Try
- Caring for Your Homemade Candles
- Final Thoughts
Why Make Your Own Candles
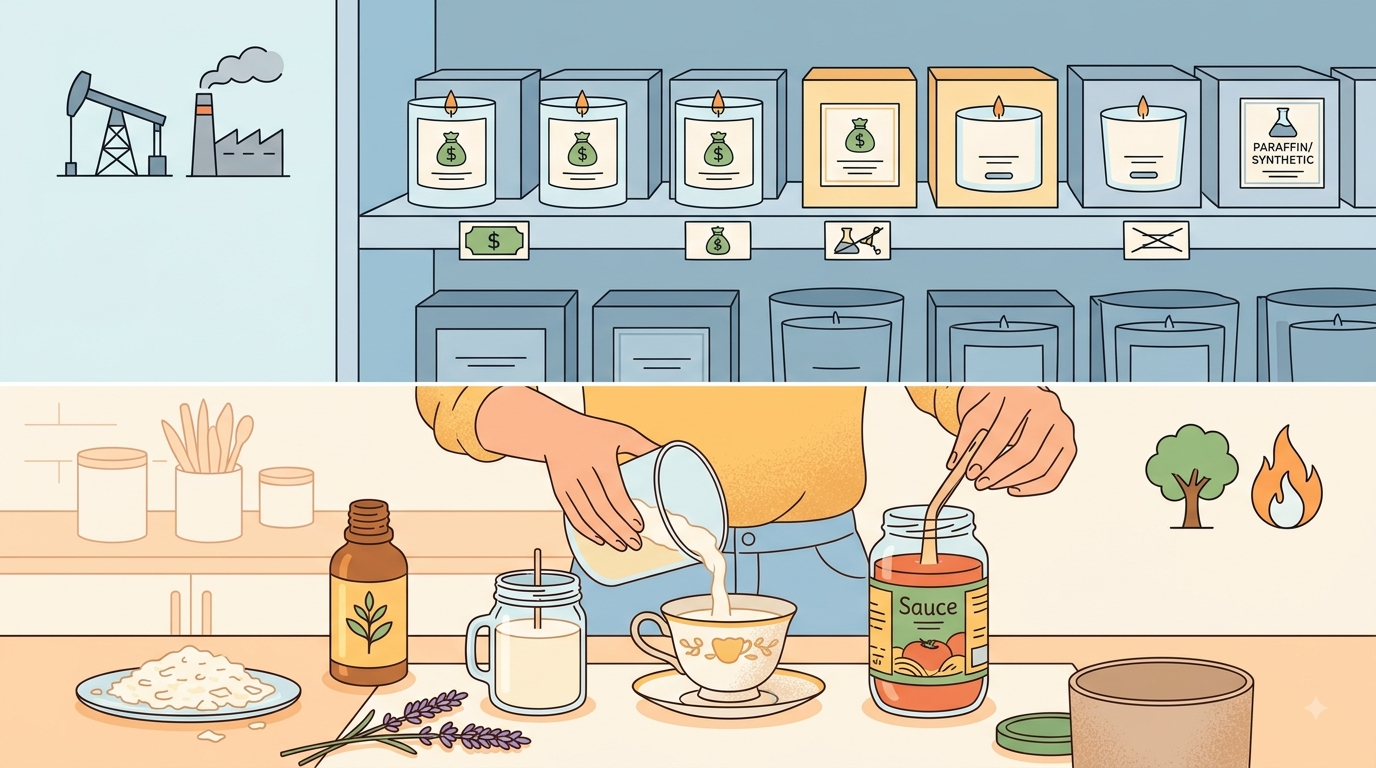
Store-bought candles can be expensive, especially if you prefer natural waxes or specific scents. Many commercial candles also contain paraffin (a petroleum byproduct) and synthetic fragrances that some people prefer to avoid. Making your own allows you to use cleaner ingredients, control the strength of the scent, and reuse containers you already own.
There’s also a practical benefit: once you learn the basic process, you can make candles in batches for a fraction of the retail cost. A single bag of soy wax flakes can produce multiple candles, and leftover jars from pasta sauce, candles, or yogurt work perfectly as containers.
Safety First: Important Precautions
Candle-making involves hot wax, so basic safety matters.
- Never leave melting wax unattended.
- Use a double-boiler method rather than heating wax directly over high heat.
- Keep water away from the wax (water can cause splatters).
- Work on a protected surface and keep children and pets at a distance while the wax is hot.
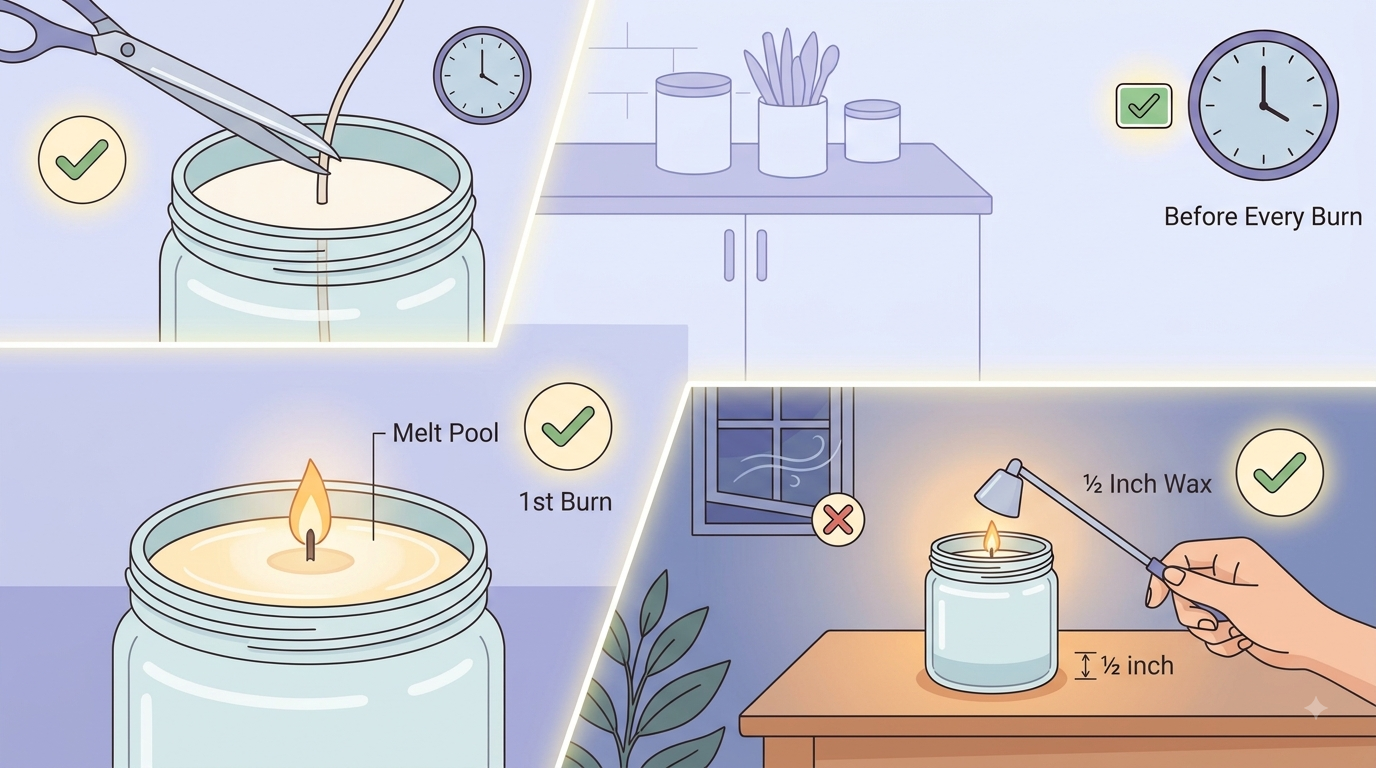
- Always trim wicks to about ¼ inch before lighting the finished candle.
- Never burn a candle for more than 4 hours at a time, and keep it away from drafts, curtains, and flammable materials.
These simple habits prevent most problems.
Materials You’ll Need
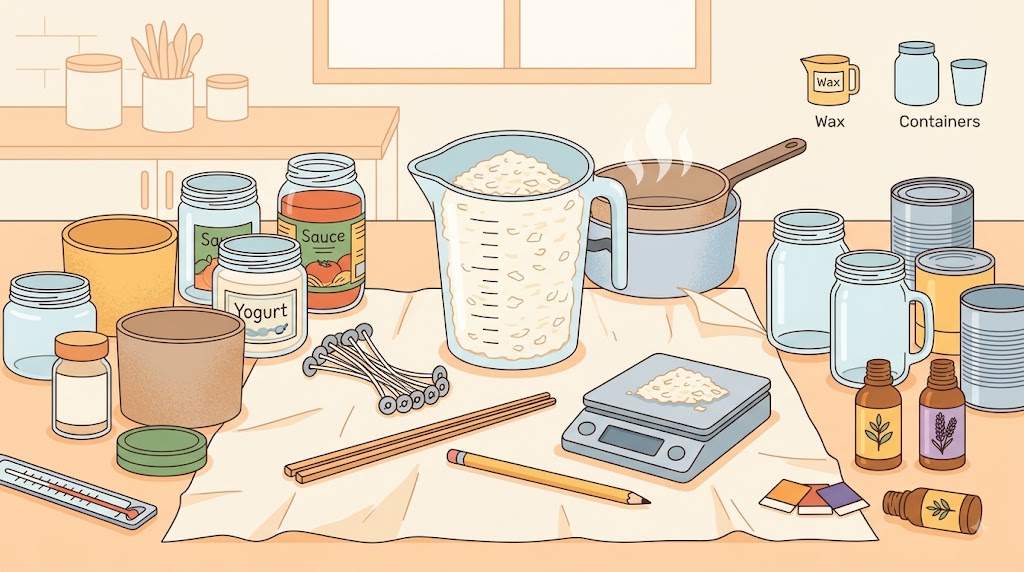
You can make excellent candles with very basic supplies:
- Soy wax flakes (easiest for beginners and cleans up with soap and water)
- Cotton wicks with metal bases (pre-tabbed wicks are simplest)
- Heat-safe containers (glass jars, tin cans, or ceramic containers)
- A heat-safe pouring pitcher or large glass measuring cup
- A saucepan for the double boiler
- A wooden skewer, chopstick, or pencil (to hold the wick in place)
- Essential oils or candle fragrance oils (optional)
- A kitchen scale or measuring cups
- Newspaper or parchment paper to protect your workspace
Optional but helpful: a thermometer (candy or instant-read), wick stickers or a dab of hot glue to secure the wick, and soy-safe dye chips if you want color.
You likely already own most of the tools. The only items you may need to buy are the wax, wicks, and fragrance.
Step-by-Step: How to Make Easy DIY Candles
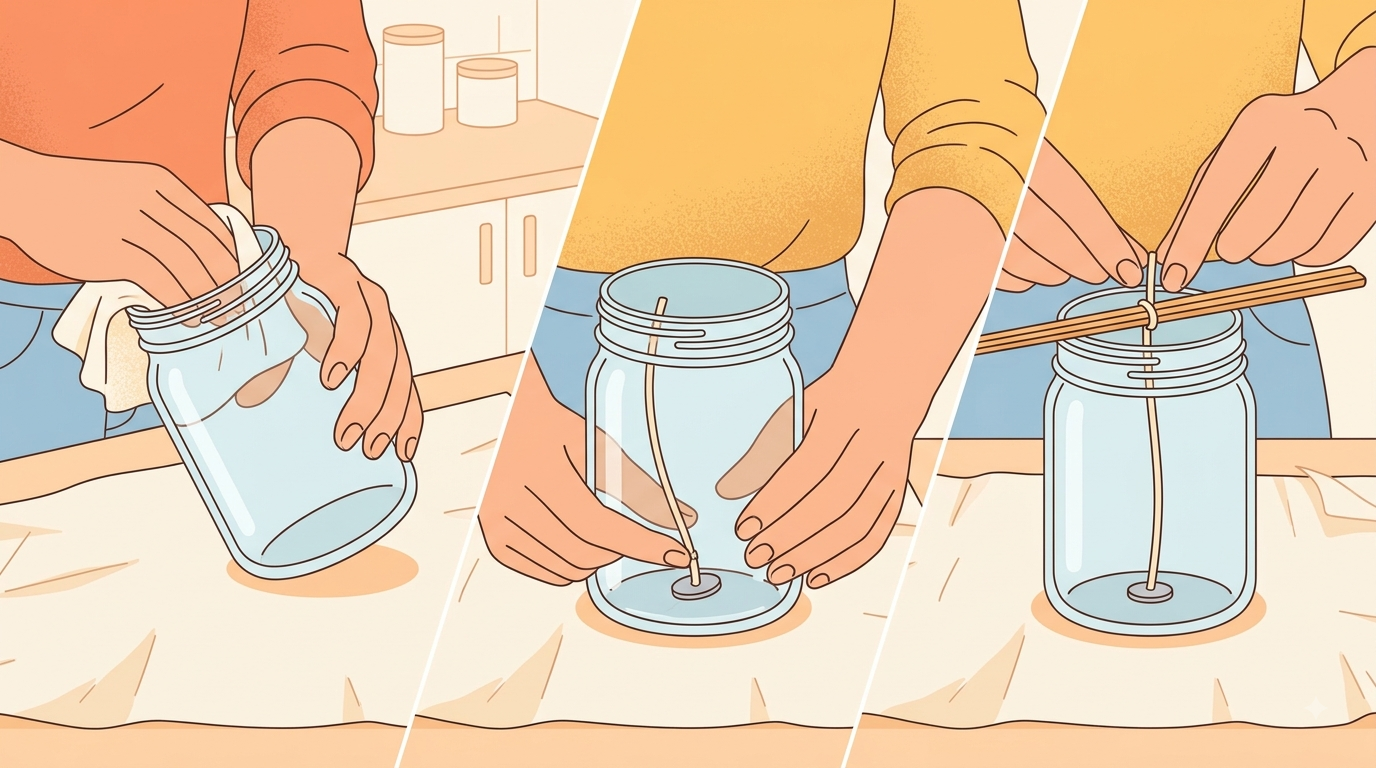
1. Prepare your containers and wicks Clean and dry your jars thoroughly. Place a wick in the center of each container. You can secure the metal base with a wick sticker, a small dab of hot glue, or simply hold it in place while you pour. Rest a skewer or pencil across the top of the jar and wrap the top of the wick around it so the wick stays centered and upright.
2. Measure the wax A good general rule is to use approximately twice the volume of wax flakes as the volume of your container. For example, if your jar holds 8 ounces of liquid, start with about 16 ounces of soy flakes by volume (or weigh it for more accuracy). It’s better to melt a little extra than to run short.
3. Melt the wax using a double boiler Fill a saucepan with a couple of inches of water and bring it to a gentle simmer. Place your pouring pitcher or heat-safe glass measuring cup in the water. Add the soy wax flakes. Stir occasionally as they melt. Soy wax typically melts between 120–180°F. Avoid letting the water boil vigorously.
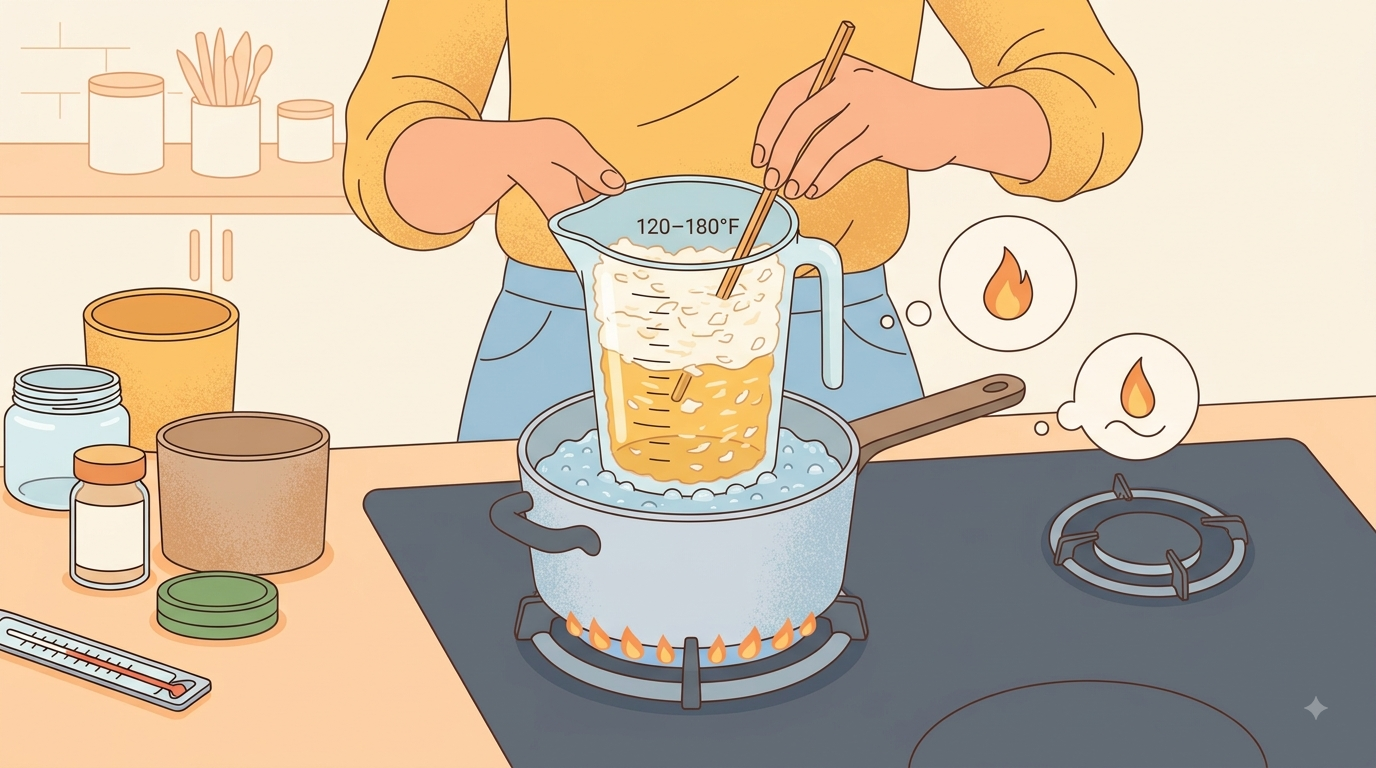
4. Cool the wax slightly before adding fragrance Once the wax is fully melted and clear, remove it from the heat. Let it cool for a few minutes. Adding fragrance when the wax is too hot can cause the scent to burn off. Most soy wax performs best when fragrance is added around 140–160°F (check your specific wax and fragrance recommendations if available).
5. Add fragrance (if using) A common ratio is about 1 ounce of fragrance oil per pound of wax, but you can adjust based on preference and the strength of the oil. Stir gently but thoroughly for about 30–60 seconds so the scent distributes evenly. Essential oils can be used, though some are weaker than specially formulated candle fragrance oils.
6. Pour the wax Slowly pour the scented wax into your prepared containers. Leave a little space at the top. Avoid pouring too quickly, which can create air bubbles.
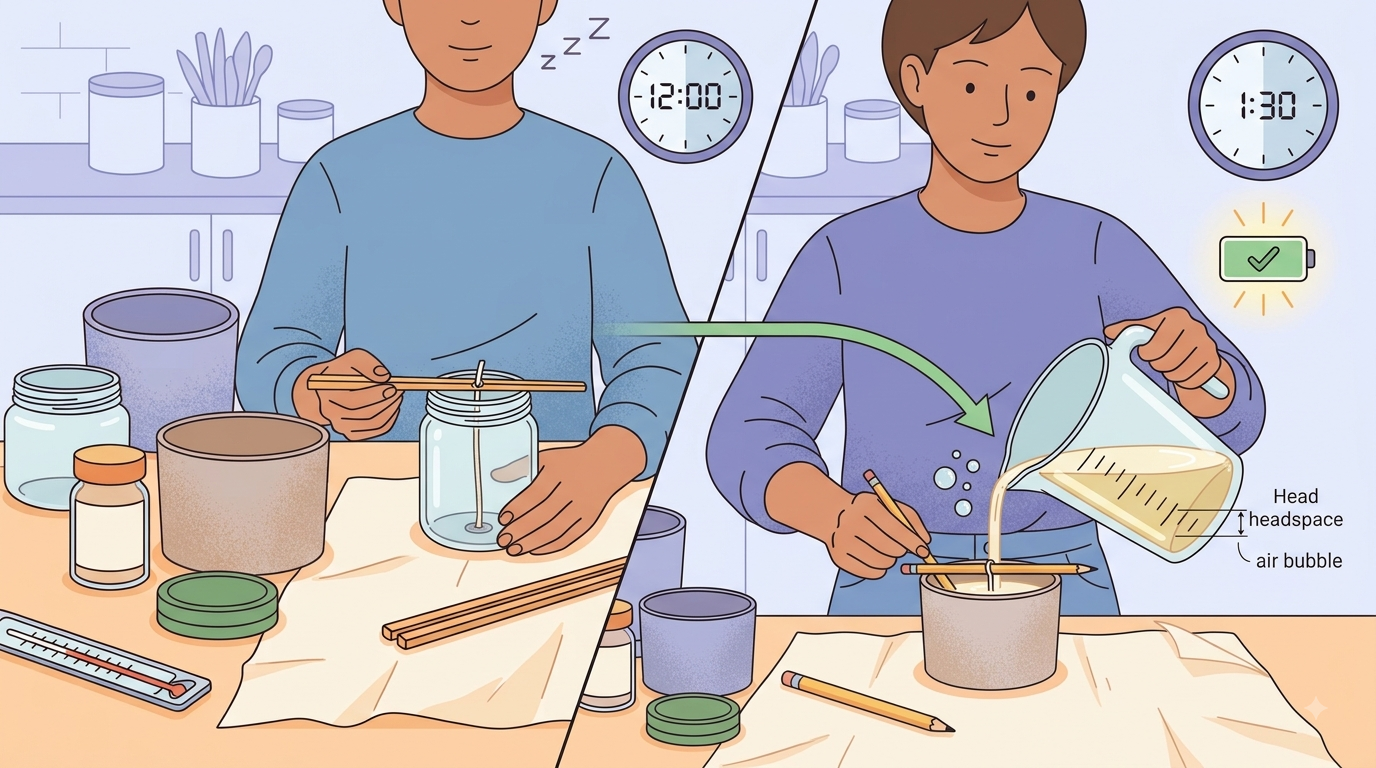
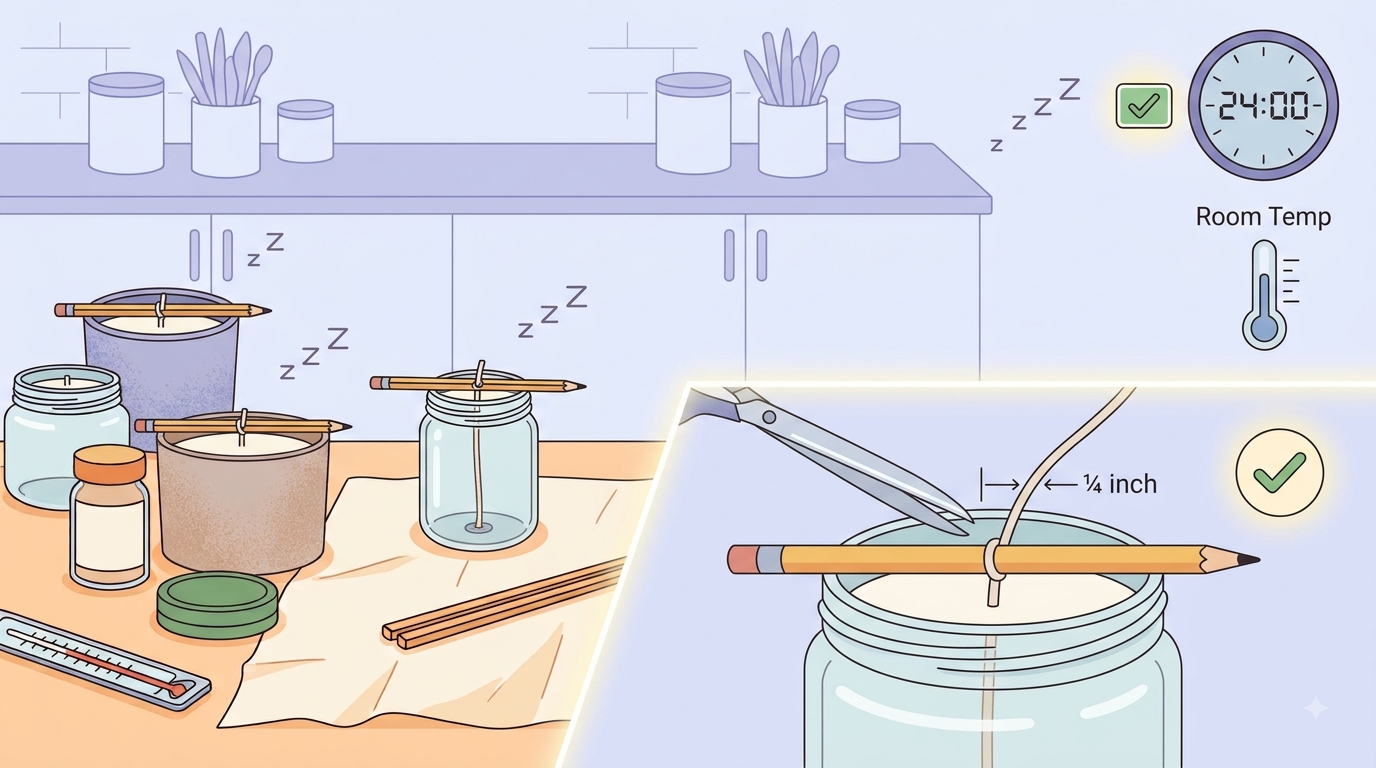
7. Let the candles set Allow the candles to cool undisturbed at room temperature. This usually takes several hours. Avoid moving them while the wax is still soft. For best results, let them cure for at least 24 hours (some people prefer 48 hours) before burning so the scent can fully bind with the wax.
8. Trim the wick Once the candle is completely firm, trim the wick to about ¼ inch above the surface of the wax. Your candle is now ready to use.
How to Add Scent
Scent is where homemade candles really shine. You can create single-note candles (lavender, orange, peppermint) or blend complementary oils. Popular easy combinations include:
- Lavender + vanilla
- Orange + clove
- Eucalyptus + mint
- Lemon + rosemary
Start with a moderate amount of fragrance. You can always make the next batch stronger. Keep notes on how much you used so you can repeat successful combinations.
How to Add Color (Optional)
If you want colored candles, use dyes specifically made for soy or vegetable waxes. Add a small amount of dye to the melted wax and stir until evenly distributed. Start with less than you think you need — colors often appear darker once the candle cools. Natural options like a tiny amount of mica powder can also work, though results vary.
Common Mistakes and How to Avoid Them
- Wick not centered: The candle will burn unevenly. Take an extra moment to secure and straighten the wick before pouring.
- Adding fragrance too early: High heat can weaken the scent. Let the wax cool slightly first.
- Pouring when the wax is too hot: This can sometimes cause sinkholes or poor adhesion to the container. Slightly cooler wax often produces a smoother top.
- Burning the candle too soon: Allow proper curing time for the best scent throw.
- Wick too long: A long wick creates a large flame, more soot, and faster burning. Always trim to ¼ inch.
Most issues are easy to fix once you know what causes them.
Creative Variations to Try
Once you’re comfortable with the basic method, experiment:
- Use different containers — vintage teacups, small bowls, or tins.
- Layer scents by pouring one color or fragrance, letting it set partially, then adding another.
- Make smaller votive-style candles for gifts.
- Add dried flowers or herbs near the top (place them carefully so they don’t become a fire hazard — keep them away from the wick).
- Create unscented candles for people with sensitivities.
Caring for Your Homemade Candles
To get the best performance:
- Trim the wick before every burn.
- Let the melt pool reach the edges of the container on the first burn (this helps prevent tunneling).
- Keep the candle away from drafts.
- Stop burning when about ½ inch of wax remains.
Proper care makes a noticeable difference in how cleanly and evenly your candles burn.
Final Thoughts
Making candles at home is one of those projects that feels more complicated than it actually is. Once you’ve done it once, the process becomes straightforward and even relaxing. You end up with something useful, personal, and often nicer than what you can buy at a typical store.
Start with a simple unscented or lightly scented batch so you can focus on the technique. After that, have fun experimenting with scents, containers, and sizes. Keep notes on what works so you can recreate your favorites.
With just a few basic materials and no special tools, you can create candles that make your home smell exactly the way you want — and enjoy the quiet satisfaction of having made them yourself.