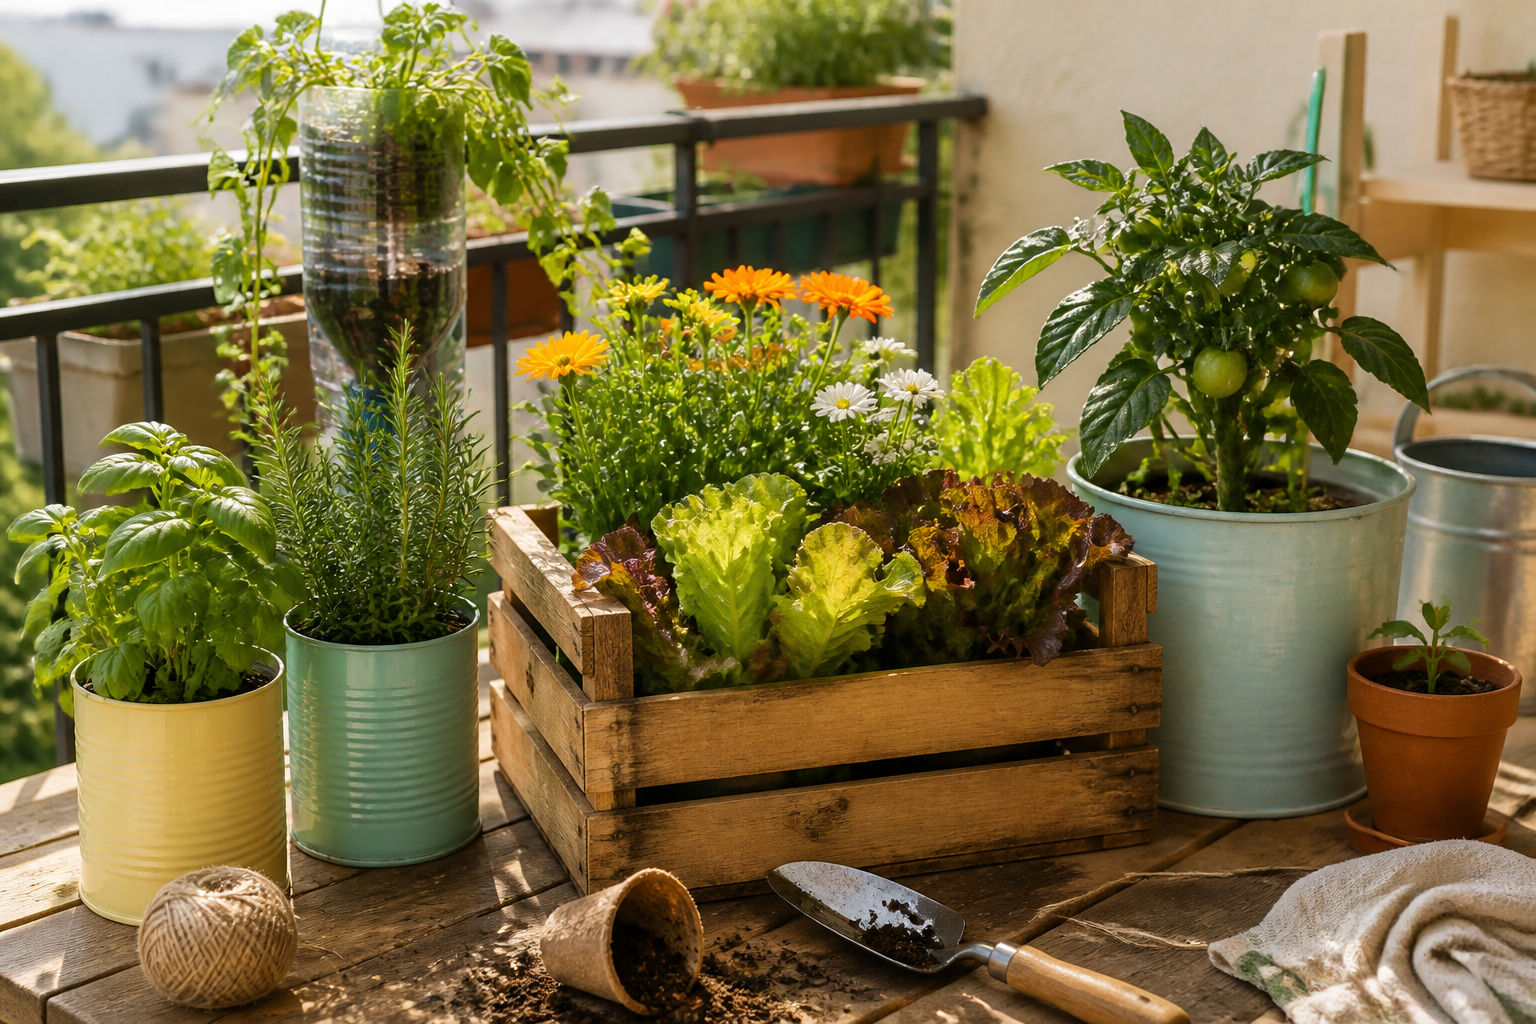
Growing plants does not require a collection of expensive ceramic pots or matching containers. With a little preparation, everyday household items can become attractive, useful homes for herbs, flowers, seedlings, and compact vegetables. These budget-friendly DIY planters are especially helpful for apartment gardeners, families, classrooms, and anyone who wants to reduce waste while adding more greenery to a living space.
Reusing containers is simple, but safe preparation matters. Choose materials carefully, clean them thoroughly, provide adequate drainage, and match each container to a plant with suitable root space and light requirements. The result can be practical, personal, and far less expensive than buying new planters.
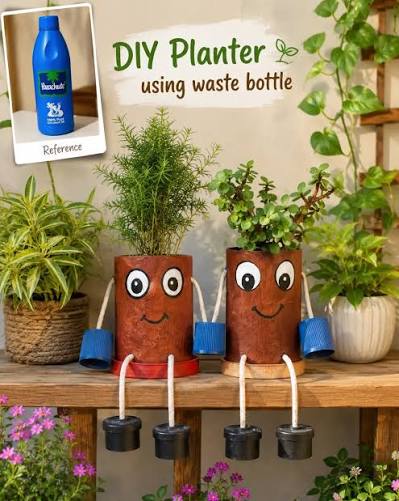
Why Make Planters From Recycled Materials?
Turning discarded household items into planters gives useful materials a second purpose. Plastic food containers, cans, wooden crates, and sturdy buckets might otherwise go directly into the trash or recycling bin. Reusing them can reduce household waste and help you make the most of items already on hand.
It can also lower the cost of container gardening. The main expenses may be potting mix, seeds or plants, and a few basic tools. If you already have containers at home, you may not need to spend anything on the planter itself. Even when a project requires paint, hooks, or a tray, the total often remains modest.
Recycled planters also make it easier to personalize a space. A row of labeled cans can brighten a kitchen windowsill, while painted buckets or a lined wooden crate can add character to a balcony or patio. Because these projects use many shapes and sizes, they work well in homes with limited room.
Best Recycled Materials for DIY Planters
Plastic Bottles and Food Containers
Clean plastic bottles, yogurt containers, takeout tubs, and other food-safe containers can work well for seedlings, small herbs, and decorative plants. Their lightweight design makes them useful for windowsills and hanging arrangements, although thin plastic may become brittle after extended outdoor exposure.
Inspect each container for cracks, sharp edges, strong odors, or signs of damage. Avoid using containers with unknown chemical exposure, especially items that held pesticides, solvents, automotive fluids, or other hazardous substances. A food container with a known history is generally easier to evaluate than a container found outdoors or in a workshop.
Cans, Jars, and Buckets
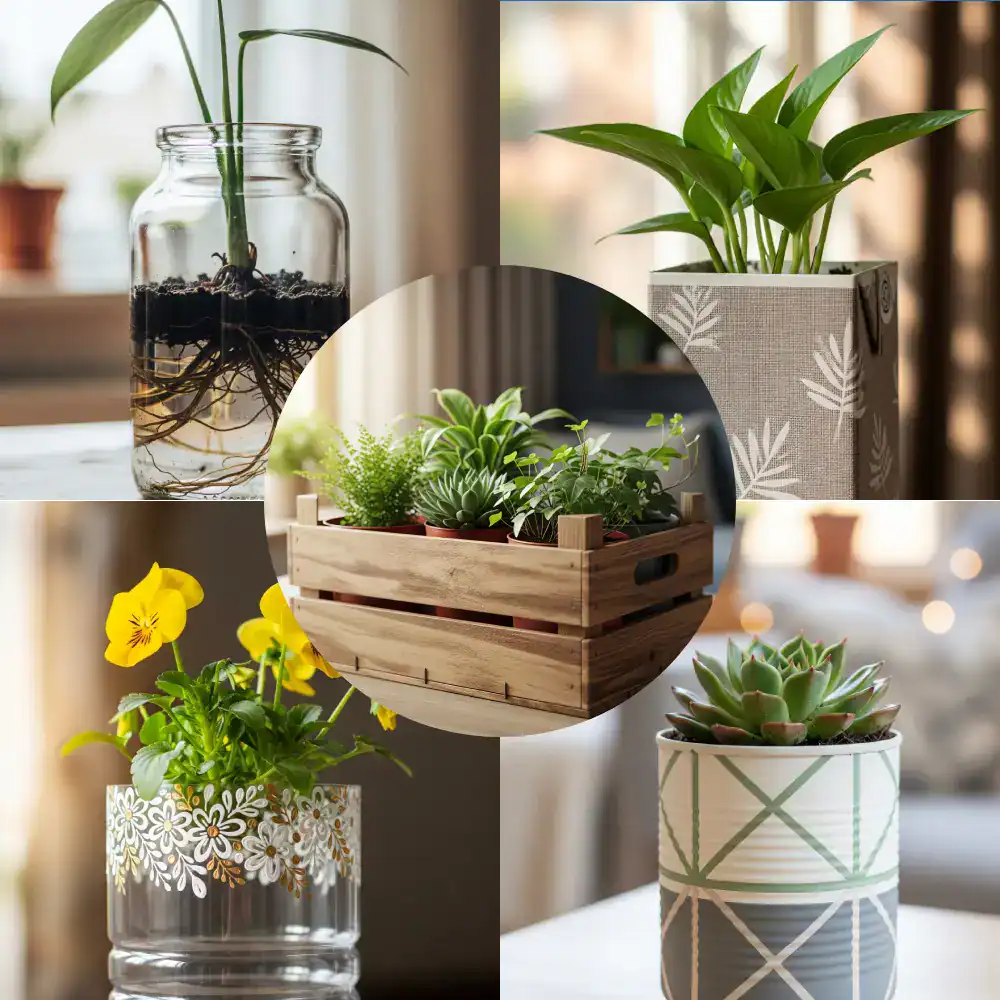
Metal cans are convenient for herbs and small flowers, while larger food-grade buckets can hold bigger plants. Glass jars can serve as decorative outer containers or temporary homes for small plants, but they need extra care because they are heavy and can break. For safety, place glass planters on stable surfaces away from busy walkways and the edges of shelves.
Remove labels and food residue before planting. Cans may have sharp rims, so use a can opener that leaves a smooth edge, cover the rim with protective tape, or choose a container designed with a safe lip. Discard cans with extensive rust, deep dents, or flaking coatings.
Wooden Crates, Boxes, and Old Household Items
Wooden crates, drawers, baskets, and sturdy boxes can become attractive DIY garden containers. Before using them, check for loose nails, splinters, mold, stains, and chemical treatments. Wood that has been painted, pressure-treated, or exposed to unknown substances may not be suitable for growing edible plants.
A liner can protect the wood and help prevent water from damaging indoor furniture or balcony surfaces. However, the liner still needs drainage, or you can use a removable nursery pot inside the crate. This approach combines the appearance of an upcycled planter with the convenience of a container designed for plants.
How to Prepare Recycled Containers
Start by washing every container with warm water and dish soap. Remove grease, food particles, adhesive, and loose labels. Rinse thoroughly so soap residue does not remain in the container, then allow it to dry completely. A damp container can encourage mold, especially when filled with soil.
Look closely for sharp edges, cracked plastic, flaking paint, rust, and unstable surfaces. Sand or cover minor rough spots when appropriate, but do not try to salvage a container that could injure someone or contaminate the soil. Containers that held toxic chemicals should not be repurposed as planters.
Consider where the planter will be used. Indoor planters should sit on a waterproof tray or saucer to protect floors and furniture. Outdoor planters need to withstand sun, rain, wind, and seasonal temperature changes. If children or pets share the space, avoid exposed wire, sharp metal, loose decorations, and unstable hanging arrangements.
How to Add Drainage Holes
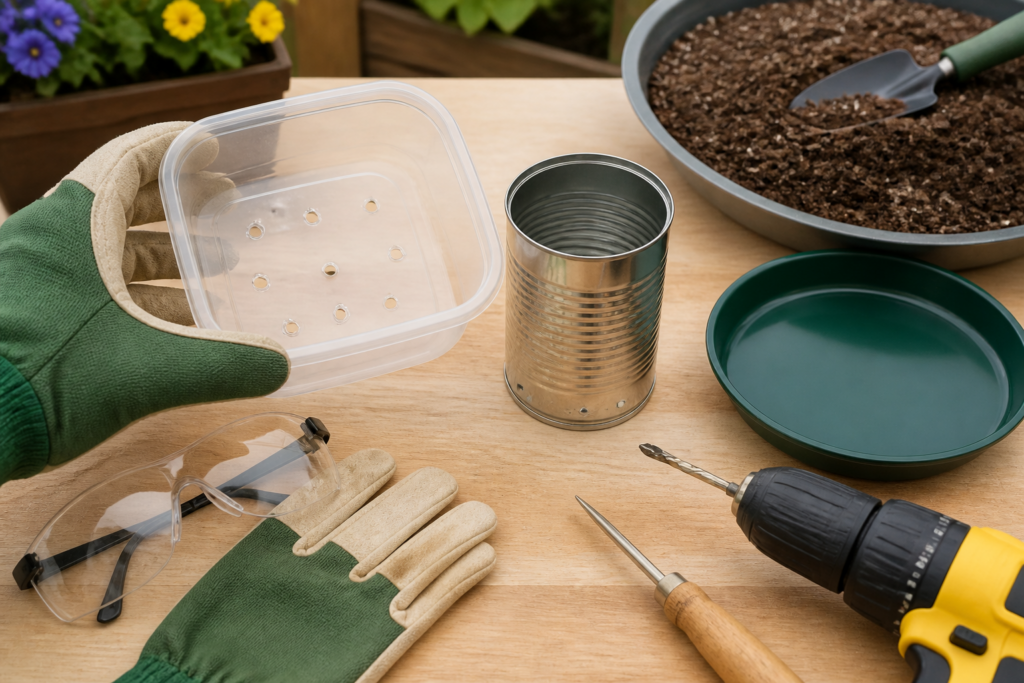
Drainage is one of the most important parts of any homemade plant pot. Excess water needs a way to escape so the soil does not remain saturated. Waterlogged soil can damage roots and may create conditions for mold or other plant problems.
For plastic containers, use an awl, heated tool, or drill carefully to make several small holes in the base. For metal cans, use a drill with an appropriate bit and wear eye protection. Work slowly, support the container securely, and smooth or cover any sharp metal edges afterward.
The number and size of holes depend on the container. Several small openings are usually preferable to one very large hole because they allow drainage without quickly losing soil. Place a tray beneath indoor planters to catch runoff, and empty the tray when needed.
If a container cannot be perforated, use it as a decorative outer pot with a smaller plant container inside. Keep the inner pot raised slightly if necessary, and do not allow water to collect at the bottom of the outer container for long periods.
Easy DIY Planter Projects
Hanging Bottle Planter
A sturdy plastic bottle can become a compact hanging planter for a trailing plant or small herb. First, wash and dry the bottle. Mark a horizontal opening on one side, leaving enough material around the edges to maintain strength. Cut carefully with sturdy scissors or a craft knife, and smooth or cover the cut edge.
Add several drainage holes to the bottom, then fill the lower section with quality potting mix. Choose a small plant with modest roots, such as a trailing houseplant, a seedling, or a compact herb. Do not pack the soil too tightly.
Use strong cord or a purpose-made hanger, and attach it securely around the bottle rather than relying on a thin plastic section. Test the planter close to the ground before hanging it at height. Keep it away from areas where falling water or a dropped container could cause harm.
Tin Can Herb Planter
Tin cans are a straightforward option for a kitchen herb garden. After removing the label and washing the can, check the rim carefully. Add drainage holes to the base, then place the can on a saucer or waterproof tray.
Fill it with potting mix and add one herb suited to the container’s size. Basil, parsley, cilantro, chives, and thyme can work well when they receive appropriate light and care, although growth depends on the variety and local conditions. Label each can with the plant name and planting date.
Place the planters near a bright window or in an outdoor location that meets the herbs’ light needs. Avoid grouping too many cans tightly together, since crowded foliage can limit airflow and make watering more difficult.
Repurposed Crate Planter
A wooden crate can hold several small plants or create a display for flowers and shallow-rooted vegetables. Inspect it carefully for nails, staples, splinters, stains, and signs of insects. Sand rough areas and confirm that the wood is clean and suitable for the intended plants.
If the crate has gaps or you want to protect its interior, add a plant-safe liner. Make drainage openings in the liner, or place several individual nursery pots inside the crate. The second option makes it easier to rearrange plants and remove them for watering.
Crates are useful for flowers, leafy herbs, lettuce, radishes, and other plants that do not need a deep root run. Keep the finished container on a level surface, especially after watering, when its weight will increase.
Choosing Plants for Recycled Planters
Plant selection should begin with the container, not the decoration. A shallow bottle or can is better for seedlings, small herbs, succulents, and plants with compact roots. Deeper buckets and boxes can support larger herbs, flowers, or compact vegetables, provided they have enough width and drainage.
Check the plant’s light, temperature, and watering requirements before planting. A sunny balcony may suit many herbs and flowering plants, while a dim indoor corner may be better for a shade-tolerant houseplant. Outdoor conditions also vary by region, so consider local frost dates, summer heat, wind, and seasonal rainfall.
Succulents generally need fast-draining soil and careful watering. Herbs need regular harvesting and sufficient light. Compact vegetables such as lettuce, radishes, and some dwarf varieties can grow in containers when their space requirements are met. Avoid overcrowding, even if several seedlings fit at first; plants need room for roots, leaves, and airflow as they mature.
Decorating and Protecting DIY Planters
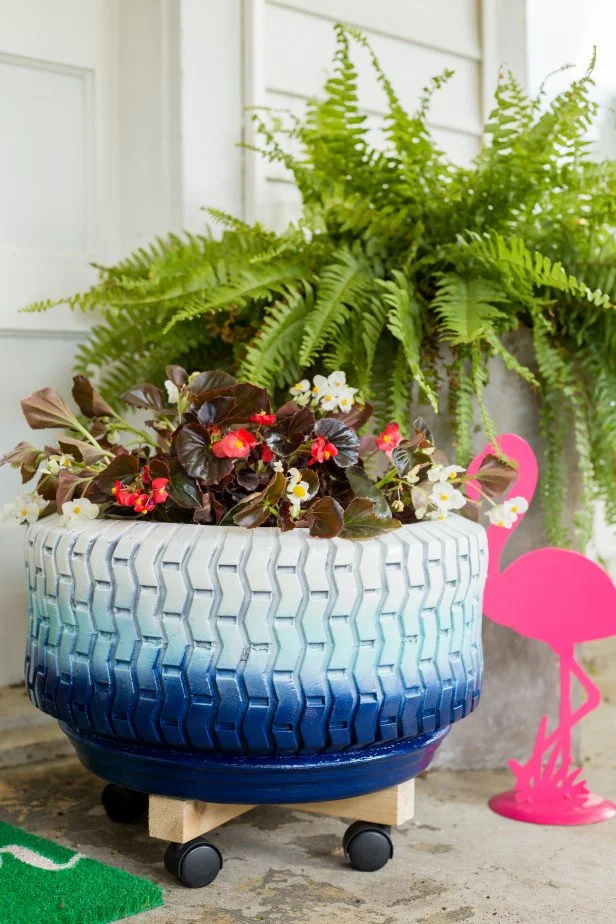
Decorating can turn a plain container into a coordinated feature. Use paint or finishes intended for the material and suitable for the environment. Whenever possible, decorate only the exterior and keep coatings away from the soil and drainage openings. Let all finishes cure fully according to the product directions before adding plants.
Outdoor planters may need protection from intense sun, heavy rain, and freezing temperatures. Thin plastic can become brittle, while glass can crack during temperature changes. Move vulnerable containers to a sheltered location when severe weather is expected.
Stability is just as important as appearance. Place containers where they cannot easily tip, and use secure brackets for hanging planters. Avoid small detachable decorations around young children and pets. If you grow edible plants, be especially cautious about unknown paints, coatings, and treated wood.
Tools, Supplies, and Potential Savings
Most cheap DIY planters require only a few basic supplies:
- Scissors or a suitable craft knife for plastic
- An awl, drill, or appropriate hole-making tool
- Soap, water, and cleaning cloths
- Potting mix suited to the chosen plants
- Seeds, cuttings, or young plants
- Trays or saucers for indoor containers
- Sandpaper, protective tape, or gloves for rough edges
- Optional plant-safe paint, labels, cord, or liners
Your savings depend on what you already own and the type of plants you choose. Reusing a food container may eliminate the planter cost entirely, while a crate project may require a liner and extra supplies. Even modest savings can add up when creating several containers for a balcony, classroom, or patio.
Maintaining Recycled Planters
Water according to the plant’s needs rather than following a fixed schedule. Small containers dry out more quickly than large ones, particularly in direct sun or windy locations. Check the soil with a finger and water thoroughly when appropriate, allowing excess water to drain away.
Inspect drainage holes regularly. Roots, compacted soil, or debris can block them. Also check for cracks, rust, mold, fading, and weather damage. A container that was safe at the beginning of the season may become unsuitable after months outdoors.
Replace deteriorating planters before they collapse or expose sharp edges. Separate materials where possible and follow local recycling instructions for plastic, metal, glass, and treated wood. Responsible disposal completes the sustainability goal of the project.
Frequently Asked Questions
Which recycled materials are safest for DIY planters?
Clean, durable containers made for food or ordinary household use are often the easiest choices to evaluate. Avoid anything that held toxic chemicals, has an unknown history, or is shedding paint, rust, or other material. Food-safe plastic tubs, sound cans, and untreated or clearly identified wood are practical starting points.
How do I clean recycled containers before using them as planters?
Wash them with soap and water, remove labels and residue, rinse thoroughly, and let them dry completely. Do not use a container if an odor, oily film, or chemical residue remains after cleaning.
Do recycled planters need drainage holes?
Most do. Drainage holes allow excess water to escape and help prevent saturated soil. If drilling is not possible, place a smaller pot with drainage inside the recycled container and empty standing water from the outer container.
What plants grow well in recycled containers?
Choose plants according to container depth, available light, temperature, and climate. Small herbs, succulents, flowers, seedlings, lettuce, radishes, and compact houseplants can all be suitable when their growing requirements match the container.
Can recycled planters harm plants, pets, or people?
They can if they contain toxic residues, sharp edges, unsafe finishes, deteriorating materials, or unstable parts. Prepare containers carefully, use plant-safe exterior finishes, and place planters where children and pets cannot knock them over or chew on them.
How can I decorate or weatherproof a recycled planter?
Use an exterior-only, plant-safe finish suitable for the container material. Protect outdoor planters from extreme weather, and keep drainage openings clear. A liner or removable inner pot can protect wooden boxes and indoor surfaces.
What tools and supplies are needed?
Basic projects may need scissors, a drill or awl, soap, potting mix, plants, and a tray. Sandpaper, gloves, labels, liners, paint, and hanging hardware are optional additions depending on the design.
How much money can recycled planters save?
Savings vary, but reusing household containers can remove or greatly reduce the cost of buying planters. Your main expenses will usually be soil and plants, along with any tools or decorative materials you do not already have.
Start with one clean, sturdy container and a plant suited to its size and location. With proper drainage and a little attention to safety, a discarded household item can become a useful part of your garden. These simple recycled planters make container gardening more affordable while giving everyday objects a practical second life.