How to Make Artificial Flowers for Home Decor at Home
Artificial flowers have come a long way from the stiff, dusty arrangements many people remember. Today’s DIY faux flowers can look soft, natural, and stylish — especially when you make them yourself. Creating artificial flowers at home is an affordable way to add color and life to your space without worrying about watering, sunlight, or seasonal availability.
The best part is that you don’t need advanced crafting skills or expensive tools. With paper, fabric, basic household items, and a little patience, you can make beautiful flowers that work in vases, wreaths, wall displays, or gift wrapping. This guide covers several easy methods so you can choose the style that fits your taste and the materials you already have.
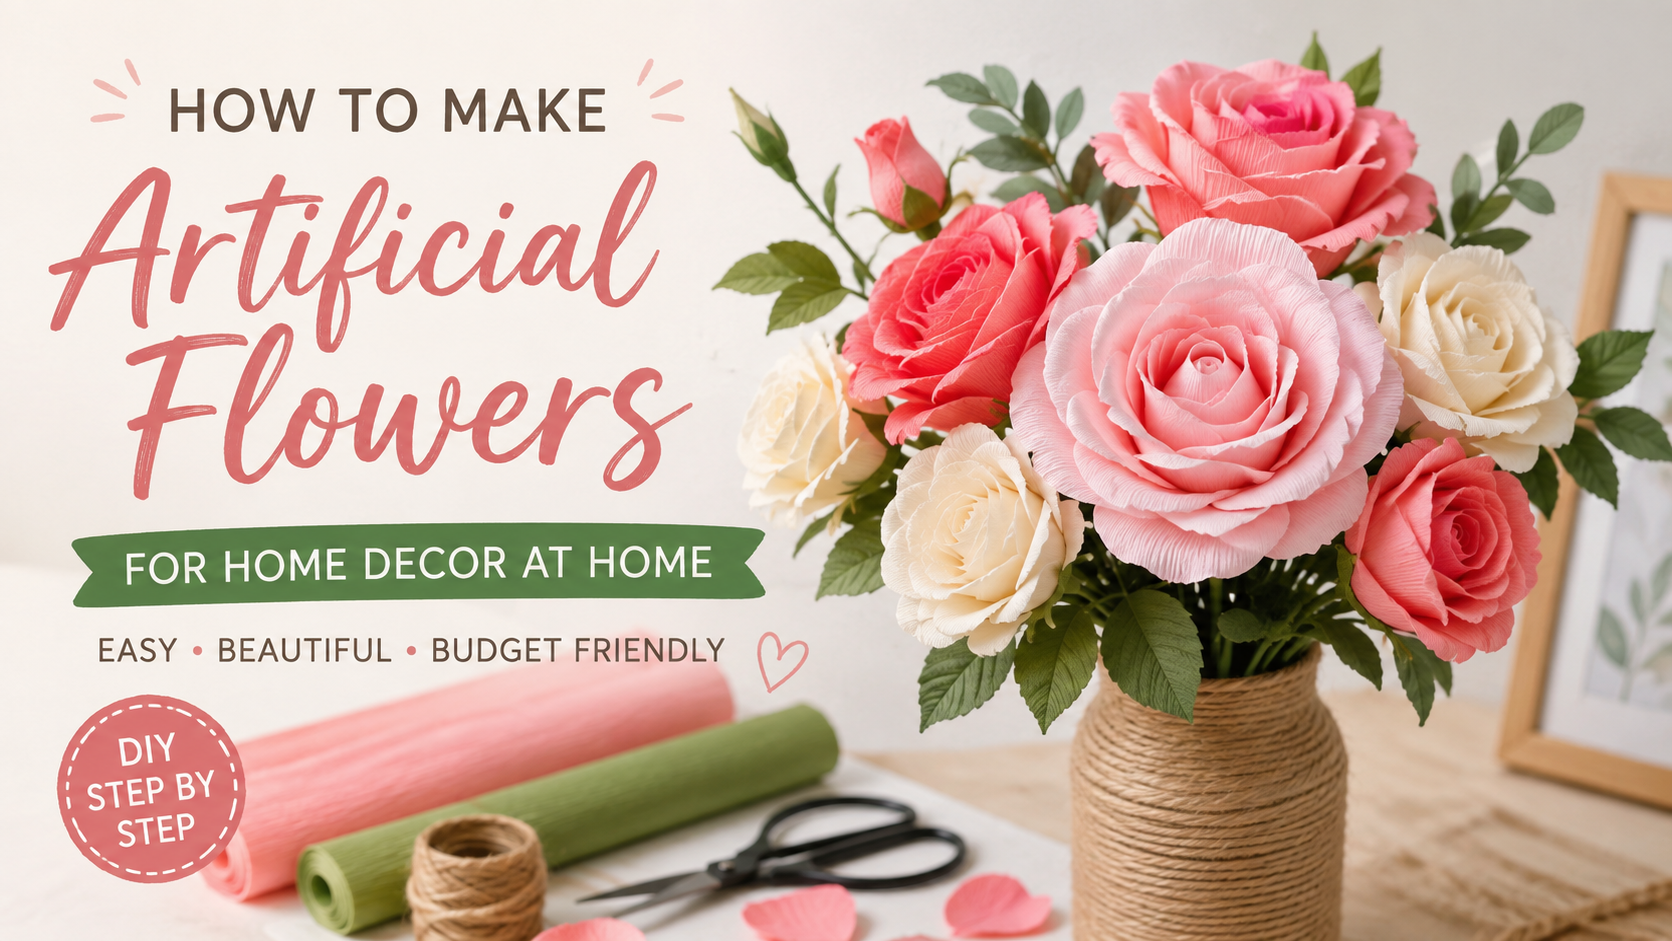
Table of Contents
- Why Make Your Own Artificial Flowers
- General Tips Before You Start
-
- Classic Paper Roses
-
- Soft Tissue Paper Flowers
-
- Coffee Filter Flowers
-
- Simple Fabric Flowers
-
- Felt Flowers for a Modern Look
-
- Crepe Paper Flowers with Realistic Texture
- How to Style and Display Your DIY Flowers
- Final Thoughts
Why Make Your Own Artificial Flowers
Store-bought faux flowers can be expensive, especially if you want high-quality ones. Making them yourself gives you full control over size, color, and style. You can match your exact home color palette, create seasonal arrangements, or make one-of-a-kind pieces for special occasions.
DIY artificial flowers are also practical. They last for years, require no maintenance, and can be refreshed or reshaped whenever you like. Once you learn a few basic techniques, the process becomes relaxing and surprisingly fast.
General Tips Before You Start
- Work on a clean, flat surface with good lighting.
- Keep scissors, hot glue or craft glue, wire (optional), and floral tape nearby.
- Choose colors that complement your home rather than buying every shade available.
- Start with larger petals and simpler shapes before trying highly detailed flowers.
- Accept that handmade flowers have slight imperfections — those often make them look more natural.
1. Classic Paper Roses
Paper roses are one of the most popular DIY flowers because they look elegant and can be made in almost any color.
Materials: Colored cardstock or heavy paper, scissors, hot glue or strong craft glue, optional floral wire and tape.
Basic method: Cut several petal shapes in different sizes (smaller for the center, larger for the outer layers). Start by rolling the smallest petal tightly to form the center bud and secure it with glue. Then wrap larger petals around the center one by one, slightly overlapping and gluing at the base. Curve the edges of the petals gently with your fingers or a pencil for a more natural look.
Tip: Vary the tightness of the roll and the curve of the petals so each rose looks a little different. This prevents the “identical craft flower” look.
2. Soft Tissue Paper Flowers
Tissue paper flowers are light, fluffy, and excellent for large arrangements or party decor. They are also among the easiest for beginners.
Materials: Tissue paper in your chosen colors, scissors, pipe cleaner or wire, optional ribbon.
Basic method: Stack 6–10 sheets of tissue paper. Accordion-fold the stack, then secure the center with a pipe cleaner or wire. Gently pull each layer of tissue upward toward the center, separating the sheets to create volume. Trim the ends into rounded or pointed shapes depending on the flower style you want.
Tip: Mixing two or three close colors in one flower creates depth and a more expensive appearance.
3. Coffee Filter Flowers
Coffee filters are inexpensive, easy to shape, and take watercolor or diluted paint beautifully. The result is soft, romantic flowers that look surprisingly delicate.
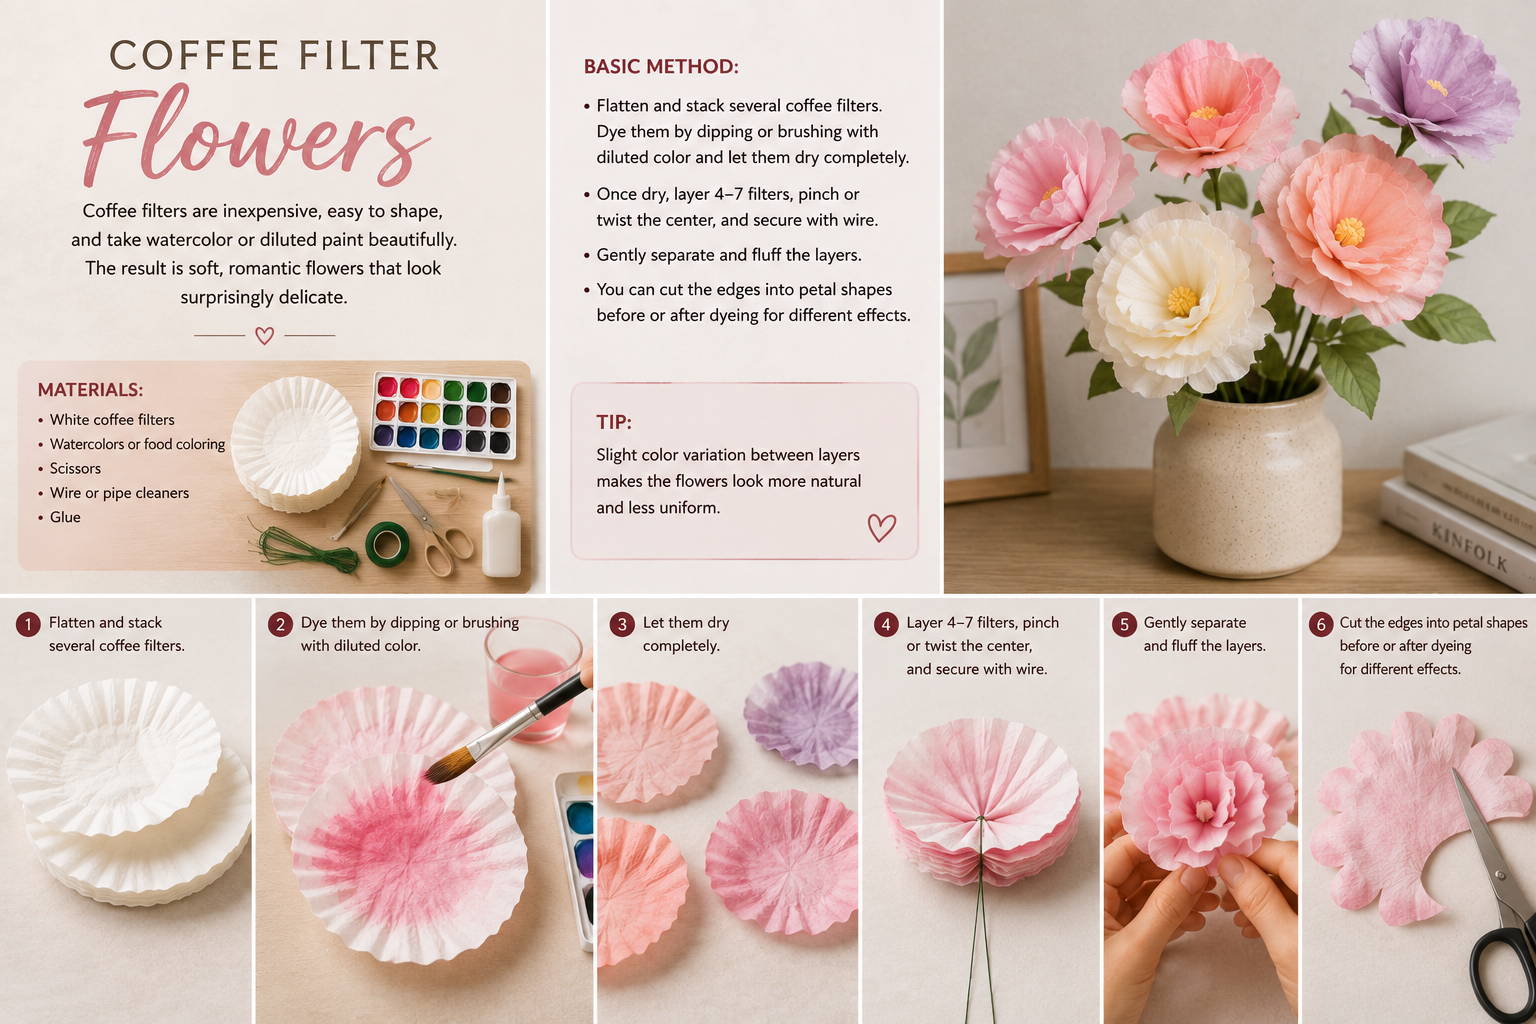
Materials: White coffee filters, watercolors or food coloring, scissors, wire or pipe cleaners, glue.
Basic method: Flatten and stack several coffee filters. Dye them by dipping or brushing with diluted color and let them dry completely. Once dry, layer 4–7 filters, pinch or twist the center, and secure with wire. Gently separate and fluff the layers. You can cut the edges into petal shapes before or after dyeing for different effects.
Tip: Slight color variation between layers makes the flowers look more natural and less uniform.
4. Simple Fabric Flowers
Fabric flowers feel more substantial than paper and work especially well in permanent home displays.
Materials: Cotton, linen, or lightweight fabric scraps, scissors, needle and thread or hot glue, optional buttons for centers.
Basic method: Cut several circles or petal shapes from fabric. For a quick version, stack circles of decreasing size, stitch or glue them together in the center, and add a button or bead in the middle. For a more dimensional flower, gather the edges of each petal slightly before attaching them around a center point.
Tip: Using fabric with a subtle texture or small pattern often looks richer than plain solid colors.
5. Felt Flowers for a Modern Look
Felt is easy to cut, doesn’t fray, and creates clean, modern flowers that suit contemporary homes.
Materials: Felt sheets in coordinating colors, sharp scissors, hot glue, optional pins or clips for attaching.
Basic method: Cut petal shapes or spirals from felt. For a spiral rose, cut a long spiral, roll it tightly from the outside in, and secure the base with glue. For other styles, layer individual petals around a center and glue them in place. Felt also works well for simple leaves and filler pieces.
Tip: Stick to a limited color palette (for example, three shades of the same color family) for a more sophisticated result.
6. Crepe Paper Flowers with Realistic Texture
Crepe paper has a natural stretch and texture that makes petals look remarkably lifelike when shaped correctly.
Materials: Crepe paper streamers or sheets, scissors, floral wire, floral tape, glue.
Basic method: Cut petal shapes with the grain of the crepe paper running vertically so you can stretch the center of each petal for a cupped shape. Build the flower from the center outward, attaching petals to a wire stem with floral tape as you go. Gently stretch and curve the petals after assembly.
Tip: High-quality crepe paper (often sold in finer grades) makes a noticeable difference in the final look.
How to Style and Display Your DIY Flowers
Once you’ve made a collection of flowers, how you display them matters as much as the flowers themselves.
- Use simple glass vases, ceramic pitchers, or even clean jars so the flowers remain the focus.
- Mix different sizes and types of flowers in one arrangement for a more natural look.
- Add a few handmade leaves or greenery pieces for balance.
- Group smaller flowers in clusters rather than spreading them too thin.
- Consider wall displays, wreaths, or single statement flowers in bud vases for variety.
If some flowers look slightly imperfect up close, placing them in a mixed arrangement or slightly farther from eye level usually solves the problem.
Final Thoughts
Making artificial flowers at home is a flexible, low-pressure craft that rewards experimentation. You don’t need to master every technique at once. Start with one style — tissue paper or paper roses are often the most forgiving — and make a small batch. Once you’re comfortable, try another method and begin mixing materials and colors.
Over time, you’ll develop a sense for which shapes, colors, and finishes work best in your home. The result is a collection of decorations that feel personal, cost very little to produce, and can be refreshed or expanded whenever you like.
Choose one method from this guide and make a few flowers this week. You’ll quickly see how satisfying it is to fill a vase with something you created yourself — no watering required.