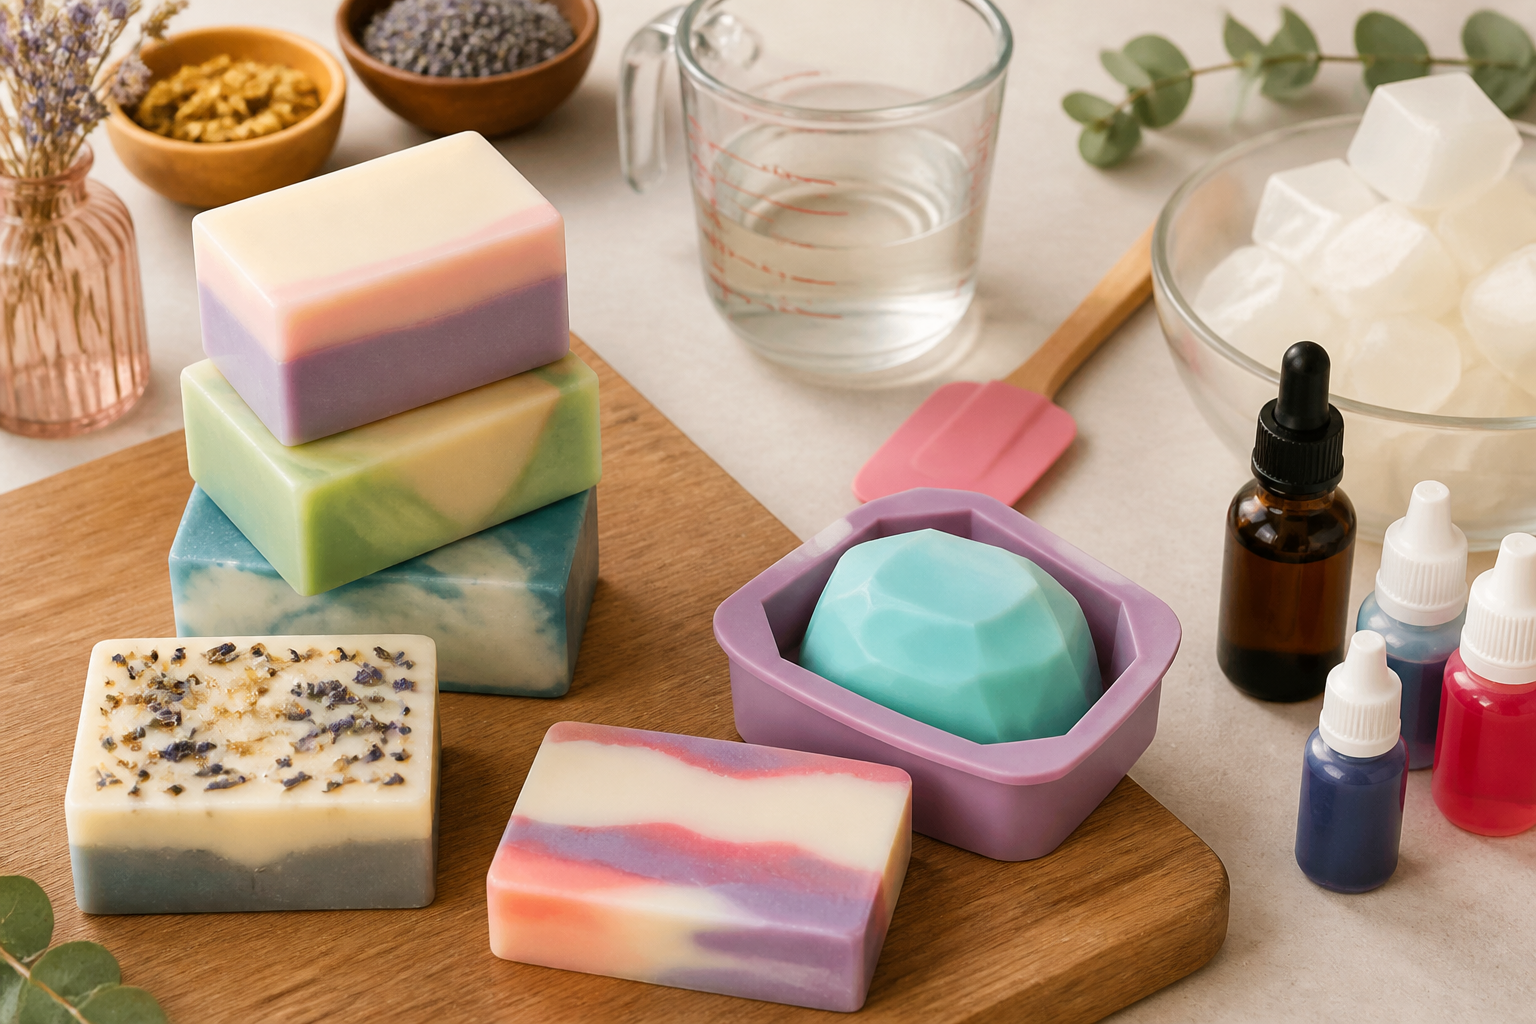
Making beautiful homemade soap does not require a complicated studio or years of experience. With the right supplies and a simple melt-and-pour method, beginners can create colorful, fragrant bars in an afternoon. This approach lets you focus on design while using a prepared soap base that has already gone through the saponification process.
Homemade soap can be customized for personal use, seasonal decorations, party favors, or thoughtful handmade gifts. The key is to begin with a manageable recipe, use ingredients made for cosmetic products, and treat heat, fragrance, and tools with care.
Choose the Best Soap-Making Method for Beginners
There are two common approaches to making soap at home: melt-and-pour and cold-process soap making.
Melt-and-pour soap is generally the simplest choice for first-time soap makers. You purchase a prepared soap base, cut it into pieces, melt it gently, mix in approved colors and fragrances, and pour it into a mold. Once the soap has cooled and hardened, it is ready to remove from the mold and use.
Cold-process soap gives experienced makers more control over oils, butter, hardness, and lather. However, it involves sodium hydroxide, commonly called lye. Lye is caustic and requires protective equipment, accurate measurements, careful handling, and a tested formula. Cold-process bars also need several weeks to cure after they are removed from the mold.
For a first project, melt-and-pour soap is more accessible and forgiving. It is an excellent way to learn how color, fragrance, molds, layers, and decorative details work before deciding whether to explore traditional soap making.
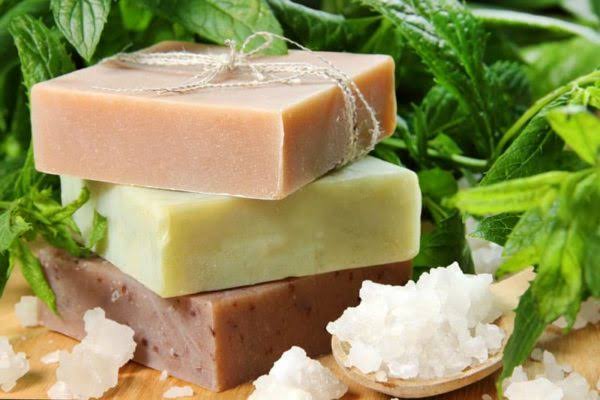
Gather Your Soap-Making Ingredients and Equipment
A small batch of beginner-friendly DIY soap can be made with a short list of supplies:
- Melt-and-pour soap base, such as glycerin, shea butter, or another prepared cosmetic soap base
- Skin-safe fragrance oil or essential oil approved for soap and used at the recommended amount
- Soap colorants designed specifically for cosmetic use
- A silicone soap mold or another mold labeled as suitable for soap making
- A heat-safe measuring cup or bowl
- A silicone spatula or spoon
- A digital scale for accurate measurements
- A knife and cutting board reserved for craft use
- Optional additives, such as finely ground oats, cosmetic glitter, or dried botanicals suitable for soap
- Rubbing alcohol in a suitable spray bottle for reducing surface bubbles, if recommended for your soap base
Choose fragrance oils, essential oils, pigments, mica, glitter, and other additives that are specifically labeled for soap or cosmetic use. Candles, art supplies, food colorings, and craft glitters may not be appropriate for skin contact. Follow the supplier’s usage instructions, since fragrance strength and colorant concentration vary by product.
For melt-and-pour soap, normal kitchen ventilation is usually sufficient, but keep the area clean and avoid inhaling fragrance directly. If you later try cold-process soap, use gloves, eye protection, long sleeves, and good ventilation. Keep all soap-making equipment away from food preparation whenever possible.
How to Make Homemade Soap Step by Step
Prepare the Workspace and Soap Mold
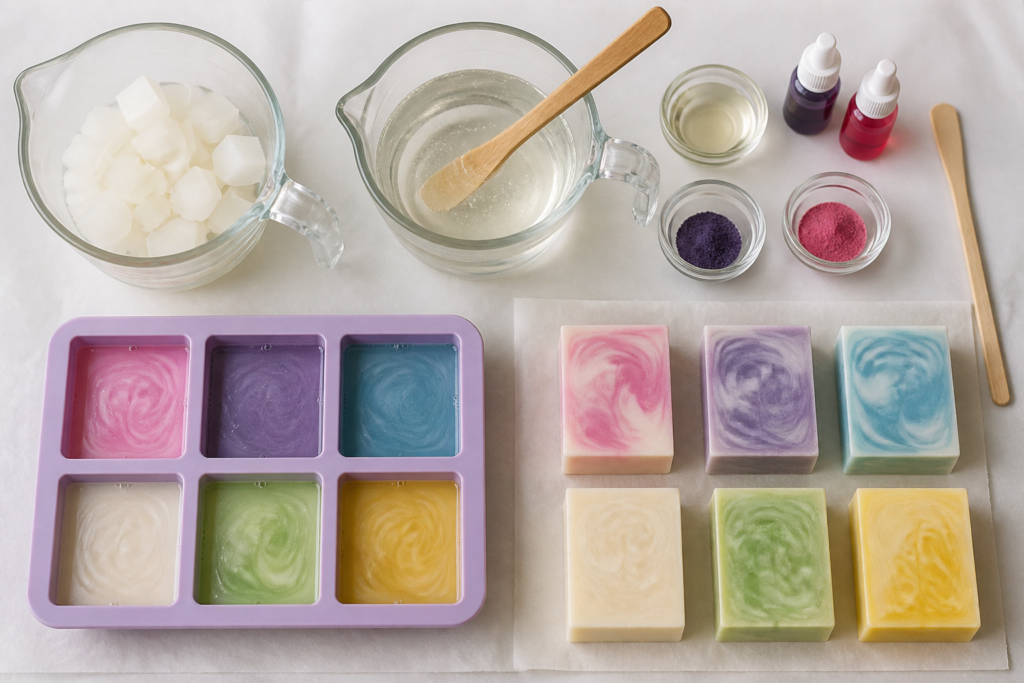
Begin by cleaning your work surface and covering it with a washable mat, parchment paper, or another protective layer. Gather every ingredient and tool before you start heating the soap. Melt-and-pour soap can begin to thicken as it cools, so preparation helps the process move smoothly.
Measure the soap base by weight using a digital scale. The amount you need depends on the size and number of mold cavities. Check the mold’s capacity or use the manufacturer’s guidance. Have the mold sitting on a level surface before you pour; moving it after filling can cause spills or uneven bars.
Melt the Soap Base
Cut the soap base into small, similar-sized cubes. Smaller pieces melt more evenly than one large block. Place them in a heat-safe container and microwave in short intervals, stirring carefully between each interval. The exact timing depends on the amount and your microwave, so use gentle heating rather than one long cycle.
You can also melt the base in a double boiler. Place the container over gently simmering water and stir occasionally. Avoid boiling the water vigorously or allowing water to splash into the soap.
Stop heating when only a few small pieces remain, then stir until they disappear. Overheating can make the soap thicker, create more bubbles, cause moisture loss, or affect the final appearance. The melted base should be fluid but not bubbling or steaming heavily.
Add Fragrance, Color, and Decorative Ingredients
Once the base has melted, add fragrance or essential oil according to the supplier’s recommended usage rate. Measure rather than guessing, especially when working with concentrated essential oils. Some oils may irritate the skin or may not be suitable for certain users, so research the product and follow its safety guidance.
Add soap colorant gradually. A tiny amount may be enough to create a pale shade, while additional color can produce a deeper tone. Stir slowly and thoroughly so the color disperses without whipping air into the mixture. Keep in mind that some translucent bases create brighter or more transparent results than opaque bases.
Optional decorative ingredients can add texture and visual interest:
- Finely ground oats can provide a gentle-looking, natural detail.
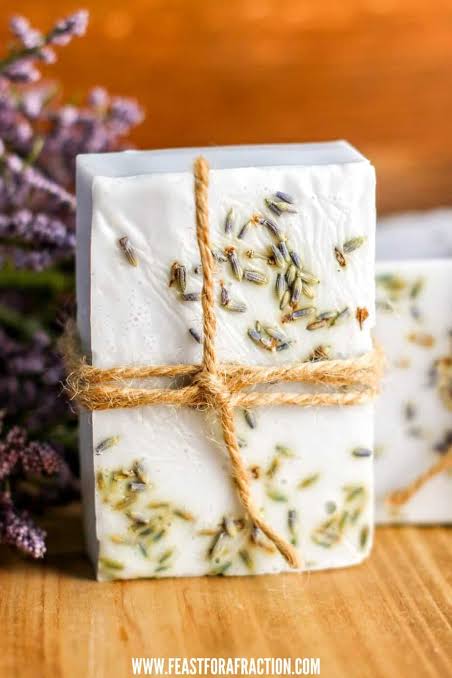
- Dried herbs or flowers can create a botanical appearance, but use them sparingly because plant material may discolor or become unpleasant in a wet bar.
- Cosmetic-grade glitter can add sparkle when used according to its product instructions.
- Small soap embeds can create shapes or contrasting designs inside a larger bar.
Avoid adding fresh fruit, fresh flowers, kitchen spices, or unknown powders. These ingredients can affect the soap’s stability, color, scent, or suitability for skin.
Pour, Set, and Unmold the Soap
Pour the melted soap slowly into the prepared mold. A slow pour helps reduce air pockets and splashing. If bubbles appear on the surface, lightly spritz them with rubbing alcohol if the product instructions for your soap base permit it. Keep alcohol away from flames and heat sources because it is flammable.
Leave the mold on a level surface while the soap cools. The setting time depends on the base, mold size, room temperature, and added ingredients. Small bars may harden relatively quickly, while large or deep molds take longer. Do not rush the process by placing the mold in extreme cold unless the manufacturer specifically recommends it, as rapid cooling can contribute to cracking or condensation.
When the bars feel firm throughout, gently flex the silicone mold and remove them. If they resist, allow them more time to cool. Trim rough edges with a clean knife if needed, then wrap or package the bars once they are completely cool and dry.
Easy Ways to Make Homemade Soap Look Beautiful
Attractive handmade soap usually benefits from one clear design idea rather than many competing decorations. Start with a coordinated color palette and a fragrance that suits the theme. For example, soft green and cream can complement a fresh herbal scent, while warm orange and gold may suit a seasonal bar.
Layered soap is one of the easiest designs. Pour one color into the mold and let it cool until the surface is firm but still slightly tacky. Add the next layer carefully. If the first layer becomes completely smooth and hard, lightly roughen the surface with a clean tool before adding the next layer so the pieces have a better chance of staying together.
Simple swirls can be made by pouring two or more colors into the mold and drawing a skewer or chopstick through the surface. Use only a few passes. Excessive swirling can muddy the colors.
Embeds add a playful detail. Pour a thin base layer, place a small finished soap shape in the mold, and cover it with more melted soap. Make sure the embed is suitable for use in soap and is positioned safely within the bar.
Shaped molds can transform a basic recipe into flowers, leaves, shells, stars, or geometric bars. For a polished result, repeat the same colors and fragrance across a small collection instead of making every bar completely different. Leaving some open space also helps the design remain clean and easy to appreciate.
Homemade Soap Safety Tips
Never use unknown ingredients in soap intended for skin contact. Fragrances and colorants should be made for soap or cosmetics, and all additives should be used within the supplier’s recommended limits. Avoid placing soap near children or pets while it is melted, and store sharp knives, hot containers, and concentrated fragrances safely.
Melt-and-pour soap does not require you to handle raw lye because the prepared base has already been processed. Traditional cold-process soap is different. Lye is caustic and can cause serious burns. Anyone attempting cold-process soap should use a precise, tested recipe; wear gloves, eye protection, and suitable clothing; work with good ventilation; and keep children and pets out of the area. Always add lye to water, never water to lye, and follow current safety guidance for the specific product.
If you plan to sell soap, check applicable local, state, and federal labeling and cosmetic-product requirements. Rules may cover ingredient declarations, net weight, business registration, claims, and packaging. A bar made as a personal gift may have different obligations from a product offered for sale.
Common Beginner Mistakes and Troubleshooting
Overheated soap: If the base becomes very hot, it may develop excess bubbles, a thicker texture, or a less attractive finish. Use shorter heating intervals and stir between them.
Soft bars: Soft soap may result from an unsuitable base, too much added liquid, excessive fragrance, or insufficient cooling time. Measure additives carefully and allow the bars to harden fully before judging the texture.
Trapped bubbles: Fast stirring and pouring can introduce air. Stir gently, pour slowly, and use an appropriate alcohol spritz on the surface if recommended for the base.
Fading colors: Some colorants change when exposed to heat, light, or particular fragrance ingredients. Use colorants designed for soap and test a small batch when trying an unfamiliar combination.
Separating layers: Layers can separate if the lower layer is too cold, too smooth, or covered with excess condensation. Let each layer partially set, keep the surface clean, and pour the next layer gently.
Melt-and-pour soap usually needs time to cool and harden, but it does not require the same multi-week curing period as cold-process soap. Curing is part of the traditional cold-process method, while melt-and-pour bars can generally be used once they are firm, fully cooled, and properly packaged.
How to Store and Package Homemade Soap
Let each bar cool and harden completely before wrapping it. Store finished soap in a cool, dry place away from direct sunlight and humidity. Airflow helps prevent the surface from becoming sticky, especially with glycerin-rich bases that can attract moisture from the air.
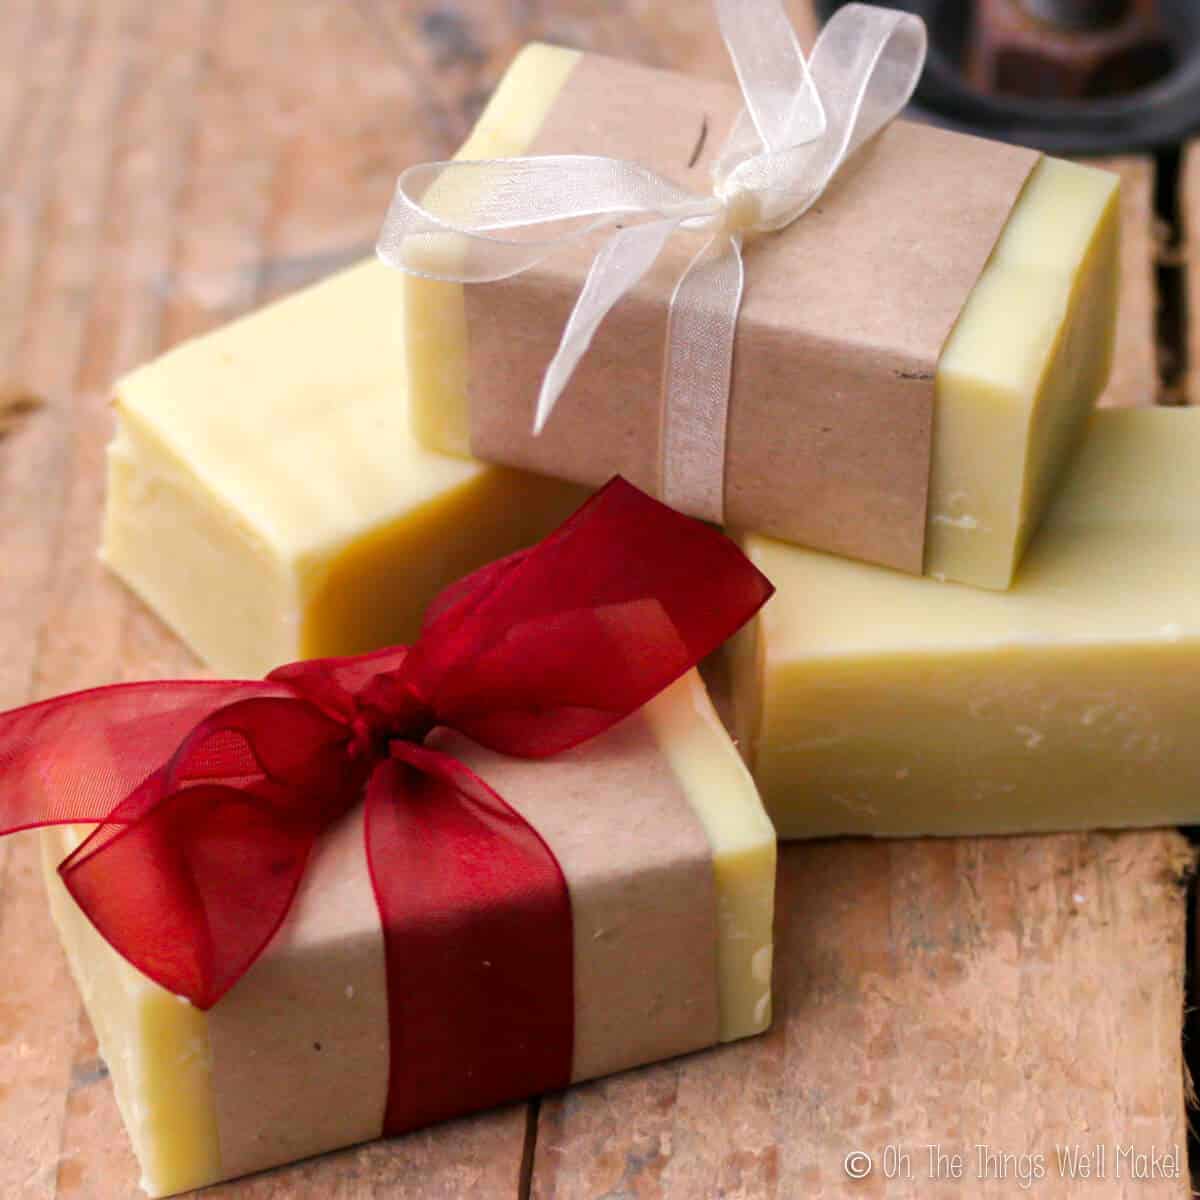
For gifts, wrap individual bars in paper bands, clear packaging, or boxes that protect the soap without trapping unnecessary moisture. Add a simple label with the soap name, fragrance, ingredients, and any relevant usage notes. If the bar contains essential oils, botanicals, or exfoliating ingredients, mention them clearly so the recipient can make an informed choice.
Frequently Asked Questions
What is the easiest way to make homemade soap for beginners?
The melt-and-pour method is usually the easiest. It uses a prepared soap base, requires no direct handling of lye, and allows beginners to focus on melting, coloring, scenting, molding, and decorating.
What ingredients do I need to make homemade soap?
You need a prepared melt-and-pour soap base, a soap-safe colorant, and a skin-safe fragrance or essential oil. A mold and heat-safe container are essential equipment. Optional ingredients include cosmetic glitter, finely ground oats, dried botanicals, or soap embeds.
Do beginners need to use lye to make soap?
Not when using a prepared melt-and-pour base. Traditional soap making requires lye, but it also requires strict safety procedures, accurate calculations, and a tested recipe. Beginners can learn the basics without handling raw lye.
How can I make homemade soap look more attractive?
Try coordinated colors, simple layers, gentle swirls, shaped molds, or small soap embeds. A limited color palette and one clear decorative idea often look more polished than a crowded design.
How long does homemade soap take to harden?
The timing varies according to the soap base, mold depth, ingredients, and room temperature. Small melt-and-pour bars may harden sooner than large bars. Cold-process soap takes longer and also needs a curing period after unmolding.
Why is my homemade soap soft or full of bubbles?
Overheating, too much liquid or fragrance, inaccurate measurements, and insufficient cooling can make soap soft. Bubbles often come from vigorous stirring or fast pouring. Gentle mixing and careful measurement can help.
How should homemade soap be stored?
Keep it in a cool, dry location with airflow and away from direct sunlight. Wrap or package it only after it has cooled and hardened completely.
Can homemade soap be given as a gift?
Yes. Homemade soap makes a thoughtful gift when it is fully hardened, attractively packaged, and clearly labeled with ingredients and fragrance information. Choose simple designs and mild, well-understood ingredients for a broad audience.
Start With One Simple Batch
Beautiful homemade soap is achievable without complicated equipment or advanced techniques. Begin with a melt-and-pour base, choose one fragrance and two complementary colors, and use a straightforward mold. Once you are comfortable with the process, experiment with layers, swirls, embeds, and seasonal themes.
Work carefully, measure your ingredients, and give each batch enough time to cool. A simple first project provides the foundation for more creative handmade soap recipes and personalized gifts.