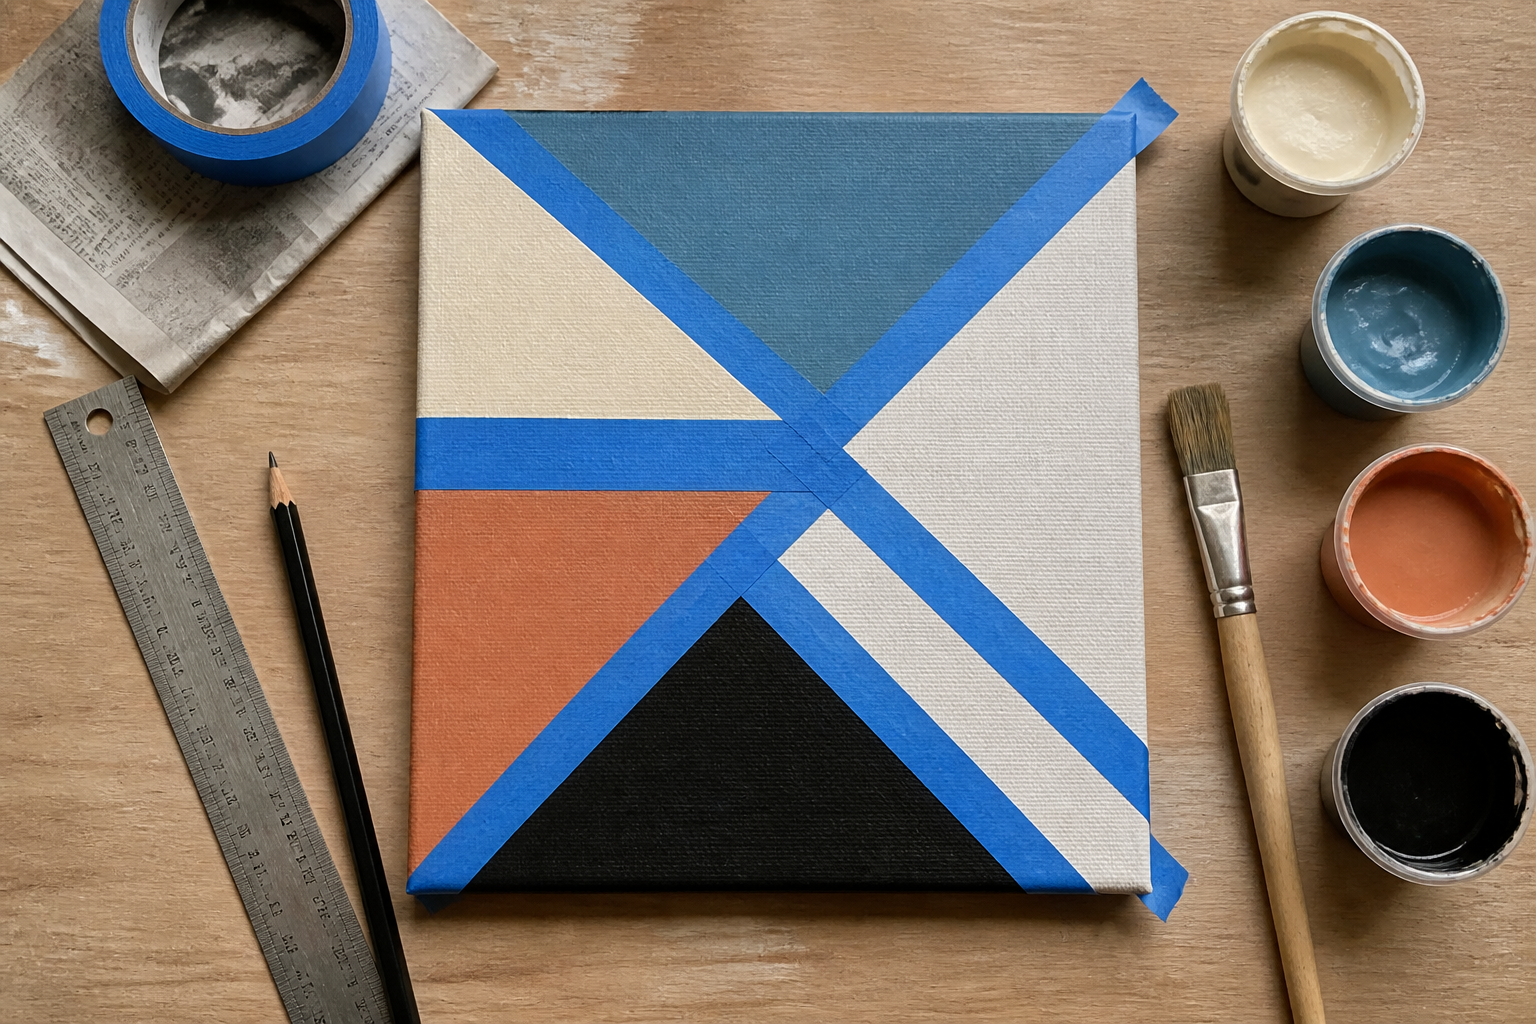
A blank wall can make a room feel unfinished, but decorating it does not require expensive artwork or advanced crafting skills. With a few basic supplies and a little planning, you can create attractive, personalized pieces in an afternoon—or even during a short break. These easy DIY wall art ideas use accessible materials such as paper, paint, fabric, tape, and repurposed frames.
Each project below is designed for beginners and can be completed in under an hour. Times and costs are approximate, since using supplies you already own can make the final price much lower. Before you begin, choose a clear work area, protect the surface with newspaper or a drop cloth, and gather everything you need so the project can move smoothly from start to finish.
What You’ll Need for Quick DIY Wall Art
Many fast craft projects rely on ordinary household and art supplies. You may already have enough materials to make one or more pieces without visiting a craft store.
- Paper, cardstock, watercolor paper, or a small canvas
- Paint, paintbrushes, paint pens, markers, or colored pencils
- Fabric remnants, scarves, tea towels, or decorative paper
- Frames, clips, a wooden dowel, or cardboard for backing
- Scissors, a ruler, pencil, and craft knife if appropriate
- Glue, double-sided tape, or a glue stick
- Painter’s tape or masking tape
- Leaves, pressed greenery, printable designs, or handwritten lettering
- Newspaper, a drop cloth, and paper towels for protecting your work area
Thrifted frames, leftover paint, old calendars, gift wrap, and unused fabric can all become useful components of DIY home decor. Prepare your paper or canvas, test colors on a scrap piece, and decide how the finished work will be hung before you start.
Easy DIY Wall Art Ideas to Try
Abstract Canvas Art
Abstract art is one of the simplest forms of beginner DIY wall art because it does not require precise drawing. A few coordinated colors, confident brushstrokes, and a clean canvas can create a polished result.
Estimated time: 30–45 minutes, plus drying time
Materials: Small canvas or thick paper, acrylic paint, two or three brushes, water, paper towels, and a pencil
Approximate cost: $5–$20, depending on whether you already have paint and a canvas
- Choose a palette of two or three colors that already appear in the room. For a calm look, try warm white, tan, and muted blue. For more energy, combine a neutral with a brighter accent.
- Lightly sketch a few broad areas, lines, or overlapping shapes on the canvas. You can also work without a sketch for a more spontaneous design.
- Paint the largest shapes first, allowing each color to remain visible. Add lines, dots, arches, or smaller blocks as accents.
- Step back occasionally to check the balance. Fill empty areas sparingly rather than covering every part of the surface.
- Let the piece dry fully before placing it in a frame or leaning it against a wall.
For a minimalist style, use one color on a white background and leave plenty of open space. A rustic room may suit earthy tones, while a modern space can work well with black, cream, and one strong color. Matching one shade to a cushion, rug, or vase helps the artwork feel connected to the rest of the room.
Framed Botanical or Printable Art
A frame instantly gives simple artwork a finished appearance. You can use a real leaf, a small piece of pressed greenery, a downloaded printable, or a handwritten design made on quality paper.
Estimated time: 15–30 minutes, not including the time needed to press fresh leaves
Materials: Frame, paper, leaf or printable image, scissors, glue or removable photo corners, and a ruler
Approximate cost: $0–$15 when using a repurposed frame and materials at home
- Choose a frame that fits the wall space. A thrifted frame, an old photo frame, or a frame from a calendar can work well.
- Measure the inside opening and cut your paper to fit. Leave a narrow border if you want the background to show.
- Place a flat leaf, printed illustration, recipe, line drawing, or handwritten phrase in the center of the paper.
- Secure the design with small photo corners or a minimal amount of glue. Avoid applying adhesive directly to delicate leaves.
- Reassemble the frame and clean the glass before displaying it.
For a botanical gallery wall, make three pieces using the same frame style and different leaves. A printable map, vintage-looking label, or simple black-and-white illustration can create a more traditional appearance. If you collect leaves, press them between sheets of paper under a heavy book for several days before using them.
Fabric or Textile Wall Hanging
A fabric wall hanging is a useful way to display a scarf, tea towel, textile sample, or small fabric remnant. It adds softness and pattern without the mess of paint.
Estimated time: 20–40 minutes
Materials: Fabric, wooden dowel or sturdy stick, cord or ribbon, scissors, clips or fabric glue, and optional iron
Approximate cost: $0–$20, depending on the fabric and hanging hardware
- Select a piece of fabric with a pattern or texture that complements the room. Smooth wrinkles with an iron if needed.
- For a simple no-sew design, fold the top edge over a dowel and secure it with fabric glue or several clips.
- Tie cord or ribbon to both ends of the dowel. Make the loop long enough for the piece to hang at the desired height.
- Trim uneven edges or leave them loose for a relaxed, bohemian effect.
- Hang the textile from a removable hook if the piece is lightweight.
You can also place a flat textile inside a large frame or attach it to a canvas board for a cleaner, more structured look. A neutral linen remnant suits Scandinavian or minimalist decor, while a colorful scarf can become a focal point in a bedroom or reading corner.
Geometric Tape Art
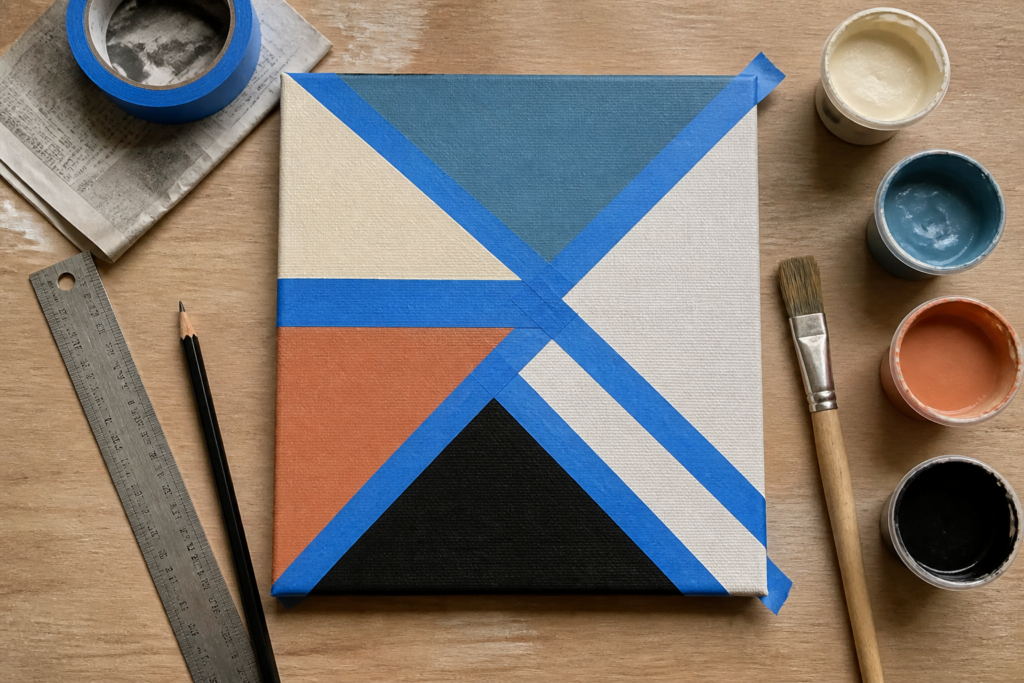
Painter’s tape makes it possible to create crisp lines and geometric shapes without needing advanced drawing skills. This quick DIY wall art project works on a canvas, heavy paper, or a primed piece of cardboard.
Estimated time: 30–50 minutes, plus drying time
Materials: Canvas or thick paper, two or three paint colors, painter’s tape, ruler, pencil, and brush or small roller
Approximate cost: $5–$18, depending on the surface and paint
- Plan a pattern using triangles, diagonal bands, rectangles, or intersecting lines. A quick pencil sketch can prevent awkward gaps.
- Apply painter’s tape firmly along the planned lines. Press the edges down with a clean finger or the side of a ruler.
- Paint one section at a time. Use a relatively dry brush or thin coats to reduce the chance of paint slipping beneath the tape.
- Allow the paint to become touch-dry, then remove the tape slowly by pulling it back over itself at a low angle.
- Touch up small imperfections with a fine brush once the artwork is dry.
For cleaner edges, avoid soaking the surface with paint. You can also seal the tape edges lightly with the background color before adding the contrasting shade. Use black and white for a graphic look, muted tones for a subtle design, or three bright colors for a playful room.
Personalized Quote or Lettering Art
A short quote, name, date, or meaningful word can turn a simple sheet of paper into personal wall decor. This project requires very little space and is easy to adapt for a home office, nursery, entryway, or gallery wall.
Estimated time: 20–45 minutes
Materials: Cardstock or watercolor paper, pencil, ruler, markers or paint pens, optional printed template, and a frame
Approximate cost: $2–$15, depending on the paper, writing tools, and frame
- Choose a brief phrase that will remain easy to read from a distance. Write it on scrap paper first to test the spacing.
- Use a ruler and pencil to create very light guide lines. If lettering is not your strength, print the words in a favorite font and trace them onto the final paper.
- Outline the letters with a marker or paint pen, then add a second color, shadow, or small decorative marks if desired.
- Erase visible pencil lines after the ink or paint has dried.
- Frame the finished piece or mount it on colored cardstock for a simple border.
Black lettering on white paper suits minimalist decor. Brush lettering in warm colors feels more casual, while cream cardstock and dark brown ink can create a vintage or rustic effect. You can also arrange several small words or initials in matching frames for a personalized set.
How to Make DIY Wall Art Look More Professional
Simple homemade wall art looks more intentional when the design has a clear visual structure. The following details can make a noticeable difference:
- Limit the palette. Two or three main colors usually create a more cohesive result than many unrelated shades.
- Use consistent spacing. Leave similar margins around lettering, shapes, or botanical pieces.
- Add a border or mat. A white, cream, or contrasting border separates the artwork from the frame and gives it breathing room.
- Choose the right scale. A tiny piece may disappear on a large wall, while one oversized piece can overwhelm a narrow space.
- Repeat a detail. Use the same frame finish, accent color, or pattern across multiple pieces to create a coordinated display.
- Check the placement first. Cut paper templates the size of your artwork and temporarily attach them to the wall before hanging anything.
Keep the artwork at a comfortable viewing height and consider nearby furniture. A collection above a sofa or console usually looks more balanced when its overall width relates to the furniture beneath it.
Wall-Safe Ways to Hang Homemade Art
Lightweight art can often be displayed without nails. Removable adhesive strips, small removable hooks, poster putty, and lightweight clips are useful options for renters or anyone who likes to change decor often. An easel on a shelf or desk is another low-commitment choice for framed pieces.
Check the weight limit printed on adhesive products, and clean the wall according to the product directions before applying them. Avoid placing adhesive on damp, dusty, freshly painted, or visibly damaged surfaces. When removing strips, pull them slowly in the direction recommended by the manufacturer rather than yanking them outward.
Heavier frames, large canvases, or textile pieces with substantial dowels may need a nail, screw, or wall anchor. Choose hardware suited to the wall type and the item’s weight. If you are unsure, use a stud or ask a hardware professional for guidance.
Choosing the Best Quick Wall Art Project
The best project depends on your available materials, preferred style, space, and tolerance for cleanup. If you want the least mess, start with framed printable art or a fabric hanging. If you have leftover paint, abstract canvas art and geometric tape art are practical choices. For a personal gift or bedroom accent, lettering art offers the most direct way to add meaning.
Small spaces benefit from narrow framed pieces, vertical textile hangings, and light colors. Families may prefer washable markers, paper projects, or designs that can be completed together. Renters can focus on lightweight art and removable hanging methods. When choosing between projects, begin with the simplest technique and personalize it through color, framing, or composition.
Frequently Asked Questions
What easy DIY wall art projects can be completed in under an hour?
Framed botanical or printable art can take 15–30 minutes. Fabric wall hangings and personalized lettering typically take 20–45 minutes, while abstract canvas and geometric tape art generally take 30–50 minutes, not including extended drying time.
What materials and tools are needed for these projects?
Most require only paper or canvas, paint or markers, scissors, a ruler, glue, a frame, and painter’s tape. Fabric projects may also need a dowel, clips, or cord. Basic household items such as old frames, scarves, cardboard, and leftover paint can replace new supplies.
How much does it cost to make DIY wall art?
Approximate costs range from $0 to $20 per piece, depending on what you already own and whether you need a frame or canvas. Repurposed materials, thrifted frames, and printable designs can reduce the cost substantially.
Which DIY wall art ideas are best for beginners?
Framed printables, botanical art, and fabric hangings require the fewest technical skills. Abstract painting is also beginner-friendly because small variations are part of the design rather than mistakes.
How can these projects be customized for different decor styles?
Change the color palette, frame finish, fabric pattern, lettering style, and amount of white space. Neutral colors and simple frames suit minimalist rooms, while layered patterns, warm tones, and textured materials work well with rustic or eclectic decor.
What wall-safe methods can be used to hang DIY art?
For lightweight pieces, consider removable adhesive strips, hooks, poster putty, clips, or a tabletop easel. Always check the weight rating and wall-surface requirements. Larger or heavier art may require nails, screws, or anchors.
Can these projects be made with materials already available at home?
Often, yes. Paper bags, old calendars, unused frames, tea towels, scarves, cardboard, leftover paint, packaging paper, and handwritten notes can all become part of simple wall decor. Look for flat, clean materials with colors or textures that suit your room.
Conclusion
Attractive wall decor does not have to take days or require a large budget. With one beginner-friendly technique and a few accessible materials, you can create personalized art in less than an hour. Choose one of these easy DIY wall art ideas, work with supplies you already have, and adjust the colors, textures, or words until the finished piece feels like your own.